
6 Ways to Wear Jelly-Look Nails with Simple Color Pairings
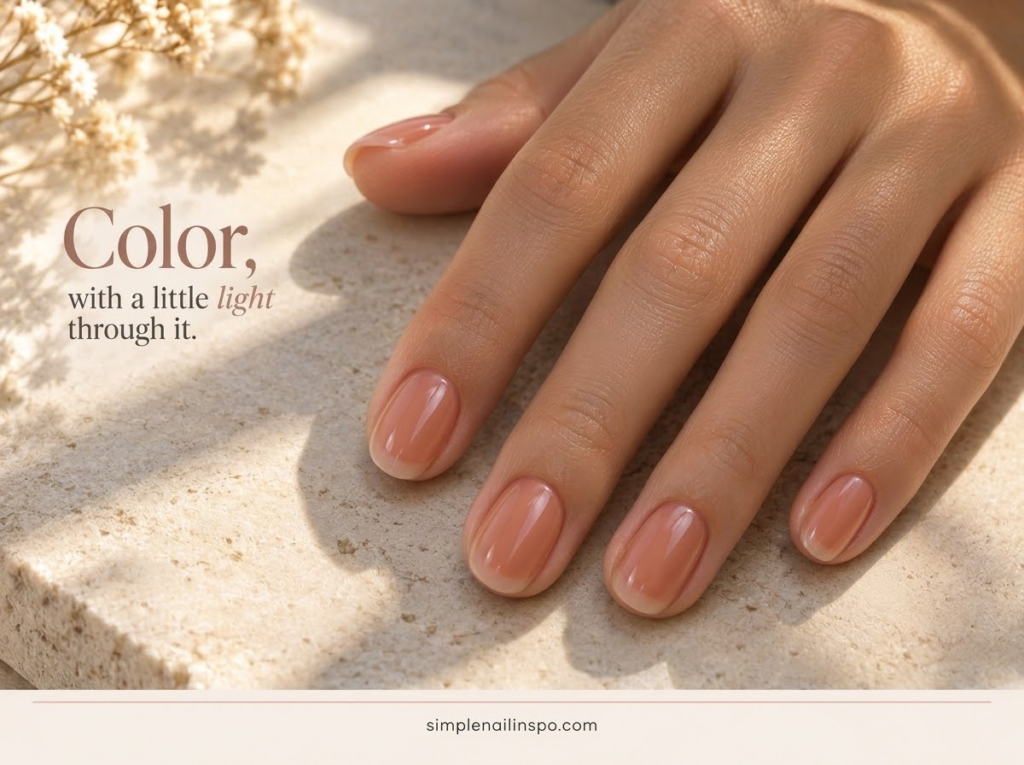
Jelly-look nails are about visible color with a sense of transparency. Instead of covering the natural nail with a dense cream, the finish lets some of what is beneath show through. The result can be soft and watery or bright and candy-like, depending on the shade and the product.
The word “jelly” describes an appearance and is used across different product types. It does not automatically mean gel or require a lamp. This guide focuses on choosing and arranging the look, with ordinary air-drying polish as a home option when the product is designed for that use. Follow the directions for the actual formula you own.
Decide whether you like visible nail lines
A translucent manicure can show the natural free edge and variations in the nail beneath it. That is part of the look, not necessarily a flaw. If you want a completely uniform opaque result, a cream polish may suit you better than trying to make a sheer formula behave differently.
Look at swatches on real nails as well as clear tips. A clear practice tip does not have the same natural color or visible edge as your nail, so the final appearance can differ. The number of layers also affects the result, but more layers are not always better or appropriate beyond the product’s directions.
If you are unsure, try the sheer shade on one nail or a short practice set first. View it in daylight and decide whether the transparency is appealing. It is easier to choose a different finish at that point than after building several heavy coats in pursuit of opacity.
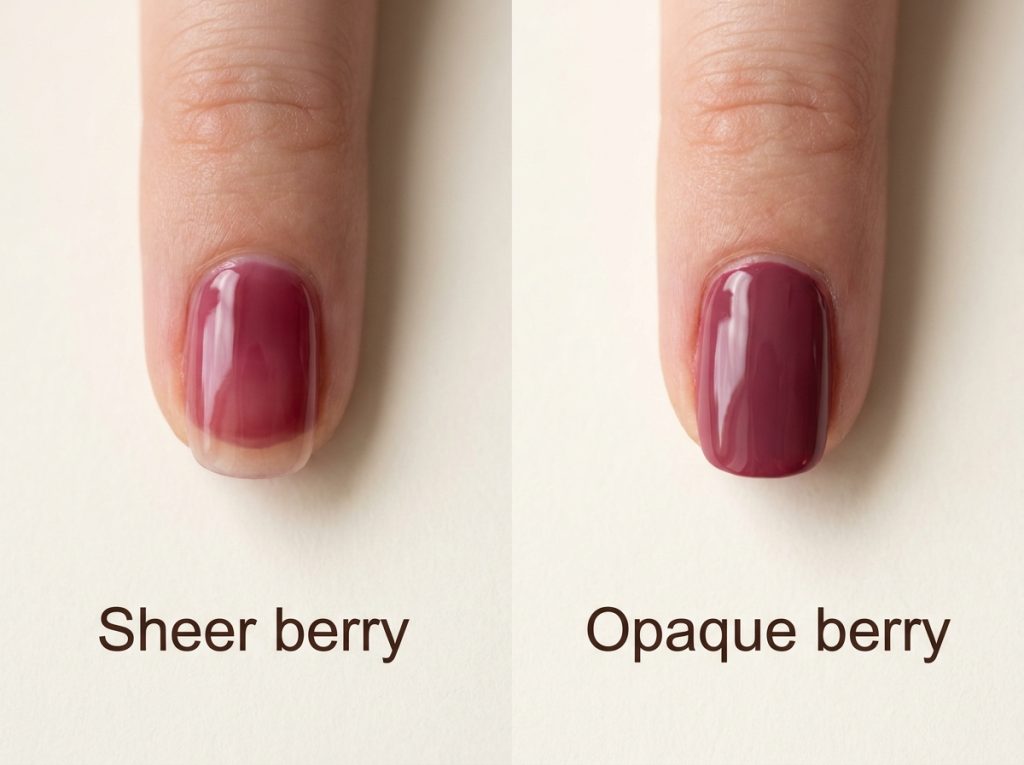
1. A single sheer berry shade
Wear a sheer berry color across every nail for the simplest jelly-look manicure. The color gives the hand a clear mood while the transparency keeps it lighter than an opaque dark berry. Keep the finish and coverage consistent across the set.
Pay attention to the amount of polish on each nail. A much heavier layer on one finger can make that nail look darker, even when you are using the same bottle. Follow the product’s application guidance and work with controlled layers rather than trying to correct every small variation immediately.
This is a useful first version because it lets you learn the formula without adding artwork. Once you know the coverage you like, you can decide whether a dot or solid accent would improve the design. A plain translucent set is already complete.
2. Sheer pink with one opaque pink accent
Paint most nails in a sheer pink and use an opaque pink on the ring finger. Choose shades from a similar color family so the finish difference becomes the main contrast. The accent can be slightly deeper, but it does not need to be dramatically darker.
This arrangement is helpful if you enjoy transparency but want one more uniform color area. It also shows how much of the final effect comes from coverage rather than color. Compare the sheer and opaque nails in the same light before deciding whether they feel coordinated.
Keep the accent plain for the first attempt. A different finish is enough of a detail. If you add a motif later, use the opaque pink as a small dot on one sheer nail so the colors remain connected. Our neutral accent ideas include similarly restrained placements.
3. A soft orange jelly-look set
Choose a translucent orange or peach-orange polish intended to give that finish. Wear it alone across the hand or pair it with one cream accent. The transparent color can feel softer than a dense pumpkin orange while still giving the manicure a warm direction.
Check the undertone in daylight. A peachy orange will look different from a red-orange or a bright candy shade. Choose the version you enjoy against your hand rather than assuming every orange jelly reference will translate into the same result.
If you want a seasonal detail, put a small dark dot on the cream accent rather than drawing several motifs over the translucent nails. This keeps the sheer color clear. Our October manicure plans offer simple seasonal arrangements you can adapt without making the jelly finish disappear beneath artwork.
4. Translucent red with one pale pause
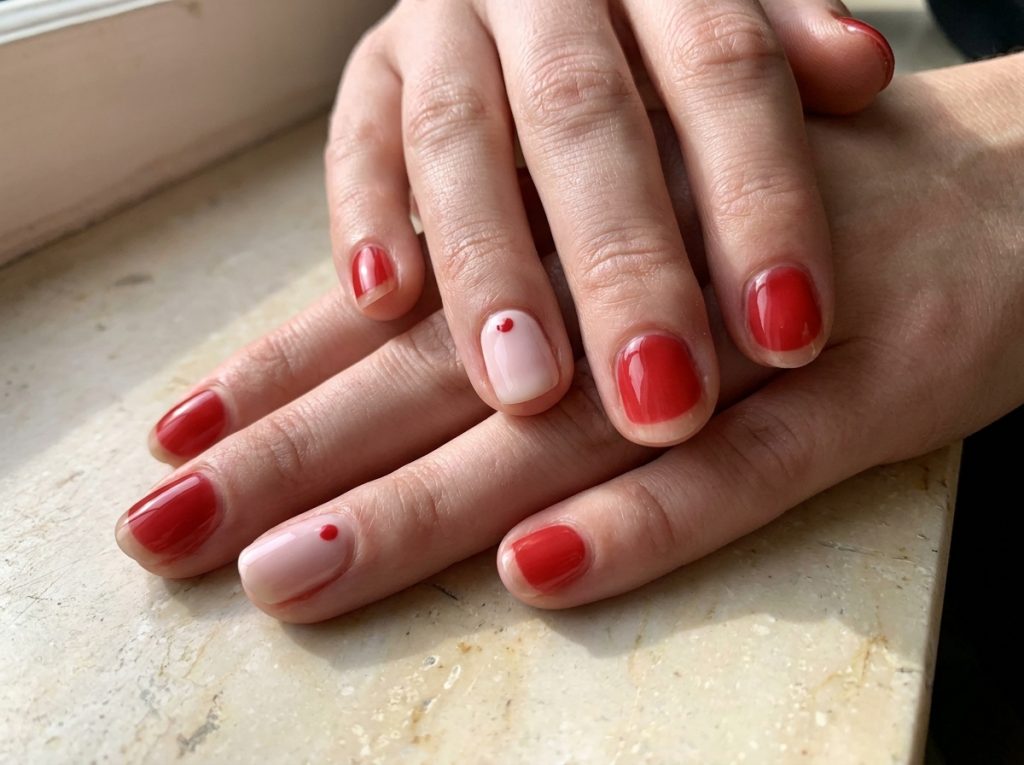
Use a sheer red on most nails and a pale pink or cream on one accent. The lighter nail gives the red a visual pause and makes the transparency of the surrounding nails more noticeable. Choose the accent’s coverage deliberately: sheer pink gives a softer result than opaque cream.
A small red dot on the pale accent can connect the set, but it is optional. Keep the dot compact and use a formula that makes a clear mark over the chosen base. A very sheer red may make a faint dot, which can be attractive if you expect it rather than trying to force a dense spot with repeated layers.
This is a good example of using the same color family in different areas rather than adding unrelated decorations. The set remains simple enough to repeat, while the accent changes the rhythm across the hand.
5. Two neighboring translucent colors
Pair two sheer shades, such as pink and berry or peach and rose, on different nails. Use one shade on the thumb, index and little finger and the other on the middle and ring fingers. This creates a clear arrangement without layering the colors on top of each other.
Choose shades with a similar level of transparency if you want the set to feel balanced. If one is much denser, that difference can become the main feature. Test them at their recommended application before deciding whether the pair looks intentional.
Avoid mixing polishes together in the bottle to create a new shade. You can explore color relationships by placing existing formulas beside each other. Our two-color manicure guide gives several whole-nail sequences that work with translucent shades as well as opaque creams.
6. A translucent base with one small dark shape
Paint a sheer pink, rose or neutral base and add one small dark heart, dot or rounded block to an accent nail. The transparent background gives the detail a light setting, while the darker shape provides a clear focal point.
Keep the motif small enough that the sheer finish remains visible around it. A large opaque design covering most of the nail defeats the purpose of choosing a translucent base. One dark dot may be more effective than a detailed illustration with several parts.
If you use a sticker, choose a flat design that fits comfortably and follow its application directions. If you paint the motif, practice it at nail size first. Our small-shape accent guide includes simple options that do not require a highly detailed drawing.
Understand the difference between sheer and streaky
Sheer coverage means you can see through the color relatively evenly. Streaks are uneven bands or patches that interrupt the finish in a way you did not intend. A sheer product can still be applied unevenly, but transparency itself is not evidence that you have painted it incorrectly.
Look at the nail in diffuse light rather than under a sharp reflection. Does the color look evenly translucent across the surface, or are there obvious darker ridges and pale gaps? That distinction helps you decide whether to adjust the application or choose a different formula.
Do not keep adding layers simply because the free edge remains visible. Check the intended finish and recommended use. If you want an opaque manicure, changing to an opaque color is usually a clearer solution than asking a sheer polish to do a different job. The same decision appears in our pale-polish guide.
Keep the color even across both hands
Use a consistent painting approach on each nail and follow the product directions. Large differences in layer thickness can make translucent colors look uneven from finger to finger. It is easy to load more polish when painting the harder hand because you are moving slowly, so pay attention to that change.
Support your hand and choose a comfortable working angle. If the brush begins to drag through a partly drying layer, stop rather than repeatedly brushing the same area. You can assess the coverage at the next appropriate stage instead of trying to perfect every streak while the surface is changing.
Our non-dominant hand practice plan is useful when one hand consistently looks darker or more uneven than the other. The goal is a repeatable movement and controlled product amount, not an unrealistically perfect first attempt.
Avoid unnecessary layers and improvised mixtures
Do not dilute a polish with unrelated products to make it sheer. Use a formula designed for the translucent effect you want and follow its directions. Mixing in remover, an unfamiliar top coat or another product can change how the polish behaves in ways you did not intend.
Likewise, do not assume that a sheer gel product can be used as ordinary lacquer. Product type and visual appearance are separate questions. A translucent look can exist in different systems, each with its own application and removal requirements.
If you are choosing a salon service, bring a reference that clearly shows the desired transparency and discuss the system with the technician. Explain whether you want the natural free edge visible, because that is a more useful instruction than simply saying “jelly nails.”
Photograph the transparency honestly
Soft daylight can show translucent color more clearly than a heavily tinted room light. Take a whole-hand photograph and a closer view of one or two nails. The wider image shows the color balance, while the close view shows how much of the natural nail remains visible.
Avoid editing the image until the color becomes opaque or much more saturated than the real manicure. That can make a future recreation disappointing because the reference no longer represents the product’s actual finish. If the polish looks different in different light, show more than one view rather than forcing them all to match.
A plain background helps. Strong patterns behind the hand can distract from a soft translucent finish. Keep props simple and do not hide the nail tips, since the visible edge is often the feature that distinguishes the look from an opaque manicure.
Save the layer information with your swatch
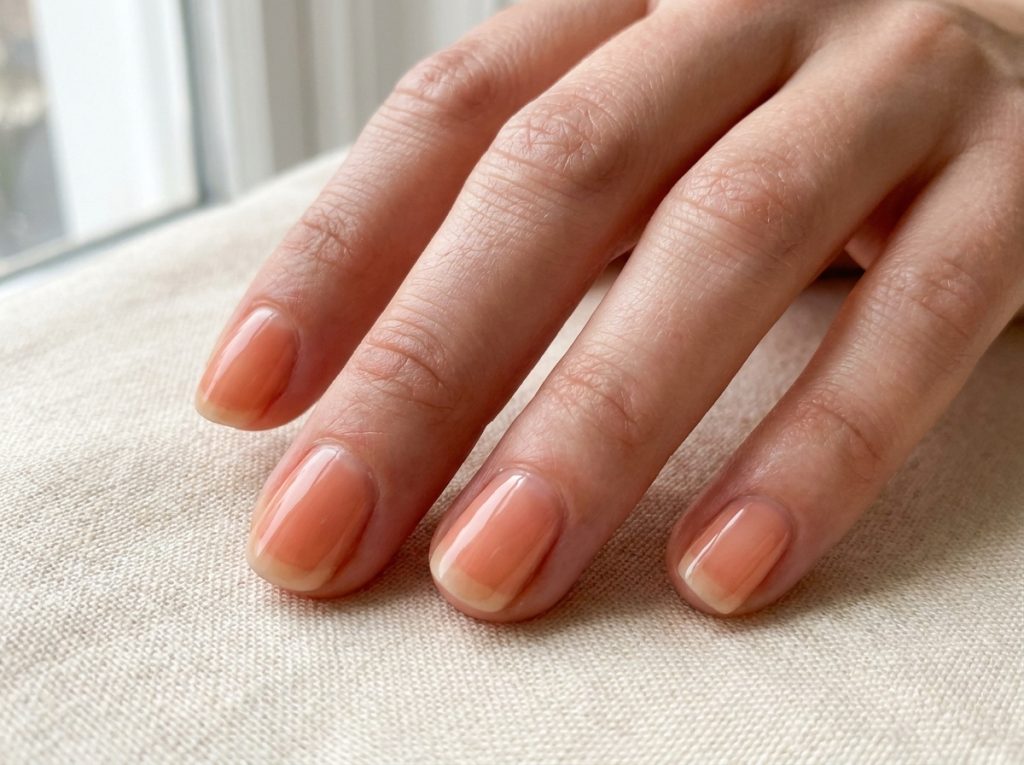
A photograph of translucent color is more useful when you know how it was created. Record the base, the color and the application sequence you followed. If you compare two approved layer options from the product directions, label the swatches so you can distinguish them later instead of assuming the darker result came from a different shade.
Also note whether the swatch was on a clear tip or a natural nail. That difference can explain why a saved reference looks lighter than the manicure you recreate. Keeping the information together lets you repeat a result you liked and avoids adding extra layers simply because you cannot remember how the first version was made.
Common questions
Does jelly-look polish need a lamp?
The appearance alone does not tell you. Some products are ordinary air-drying lacquer and others belong to a gel system. Read the product label and directions. Do not use a lamp as a general dryer or assume a true gel formula will set like ordinary polish.
Can I hide the natural nail line and still get the look?
You can choose a more uniform base or a less transparent product, but the result will differ from a very sheer jelly manicure. Decide which quality matters most: transparency, even opacity or the particular color. A reference with visible nail lines may not match an opaque base underneath.
Is a sheer manicure always easier?
Not necessarily. Some sheer shades are forgiving, while others show uneven layers clearly. The useful question is whether the formula applies in a way you can control and whether you like its intended coverage. Practice one nail or a tip before committing to a detailed set.
Can I add shimmer to a jelly-look manicure?
You can choose a compatible product designed for that effect, but check how it changes the transparency. Dense shimmer can make the finish look more opaque. Our glazed, chrome and shimmer comparison helps you decide whether you want transparent color, a pearly glow or visible reflective particles to be the main feature.
Which version should I try first?
Start with one translucent shade across the hand. It lets you learn the product without adding another variable. Once you know the coverage you like, try one opaque accent or a small dark dot while keeping the rest of the manicure unchanged.