
9 Cute Accent Nail Ideas Using Dots and Small Shapes
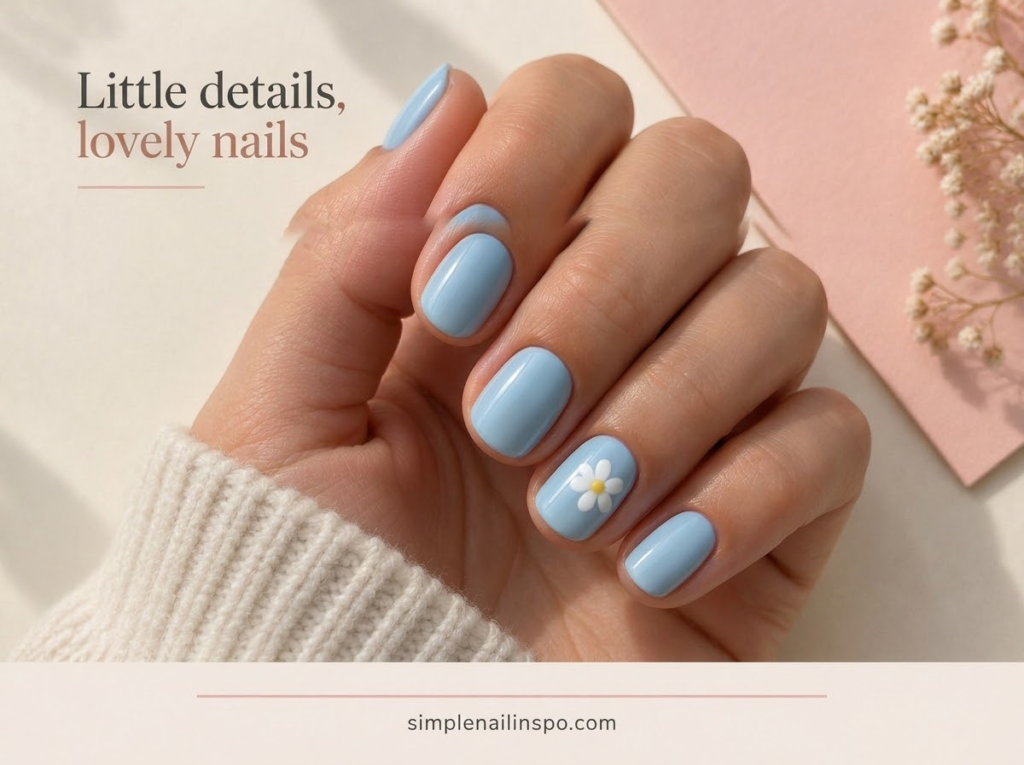
Cute accent nails do not need tiny paintings with perfect outlines. A few dots, a small heart or a rounded cluster can give a manicure personality while the remaining nails stay simple. The useful part is learning how to place a small shape so it looks intentional, then knowing when to stop adding details.
The nine ideas below use ordinary polish and small nail-art tools. They are designed as accents, usually one or two nails per hand. Start with a shape you can make comfortably on a practice tip and choose colors that remain visible against the base.
Prepare a small working area
Set your hand on a stable surface and support the wrist holding the tool. Put a small amount of polish on a suitable disposable nail-art palette if the product can be used that way, and refresh it when it becomes difficult to work with. Do not keep stretching a drying drop into fine detail.
Practice at the size you will actually paint. A large heart on paper can be easy while a tiny heart on a nail is much harder. Use a spare nail tip or another appropriate practice surface and compare the marks made with different amounts of polish on the tool.
Choose a base and one detail color for your first attempt. A third color can add a center or pupil later, but it is not necessary for most of these ideas. Our two-color manicure guide shows how much variety you can get from a small palette before you add more products.
1. One dot placed off-center
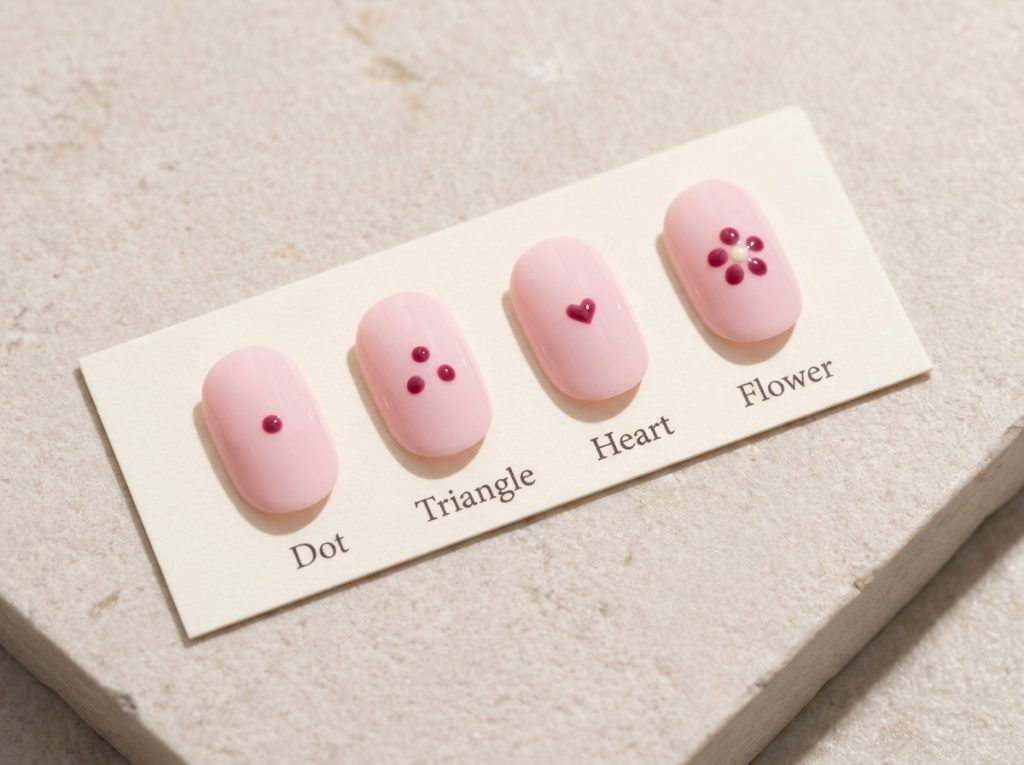
A single dot can look surprisingly considered when its placement is deliberate. Put it slightly above the middle of one accent nail and a little to one side. Leave enough background around it that it reads as a detail rather than an accidental spot.
Use a contrasting color for a clear result. Berry over pale pink, navy over cream or chocolate over beige are simple combinations. If the two shades are close in depth, make the dot slightly larger or choose a whole accent nail instead of expecting a tiny mark to show strongly.
Repeat the placement on the other hand without chasing exact symmetry. Similar scale matters more than a perfectly measured position. If one dot is much larger, practice the loading amount before correcting the next one; repeatedly enlarging both can turn a small accent into a large block.
2. A loose triangle of dots
Arrange three dots in a small triangle on an accent nail. Start with the top dot, then place the other two below it with visible space between them. The triangle can tilt toward one side for a relaxed look.
Keep the dots similar in size for your first version. Deliberately varied sizes can look good, but they make it harder to tell whether your tool control is improving. Once you can repeat the same dot comfortably, try a large, medium and small sequence.
Leave the surrounding nails plain. A triangle on every finger can work, but a single accent gives the arrangement more room to stand out. On a very narrow nail, use two dots rather than squeezing three into a cramped cluster.
3. A small heart from two rounded marks
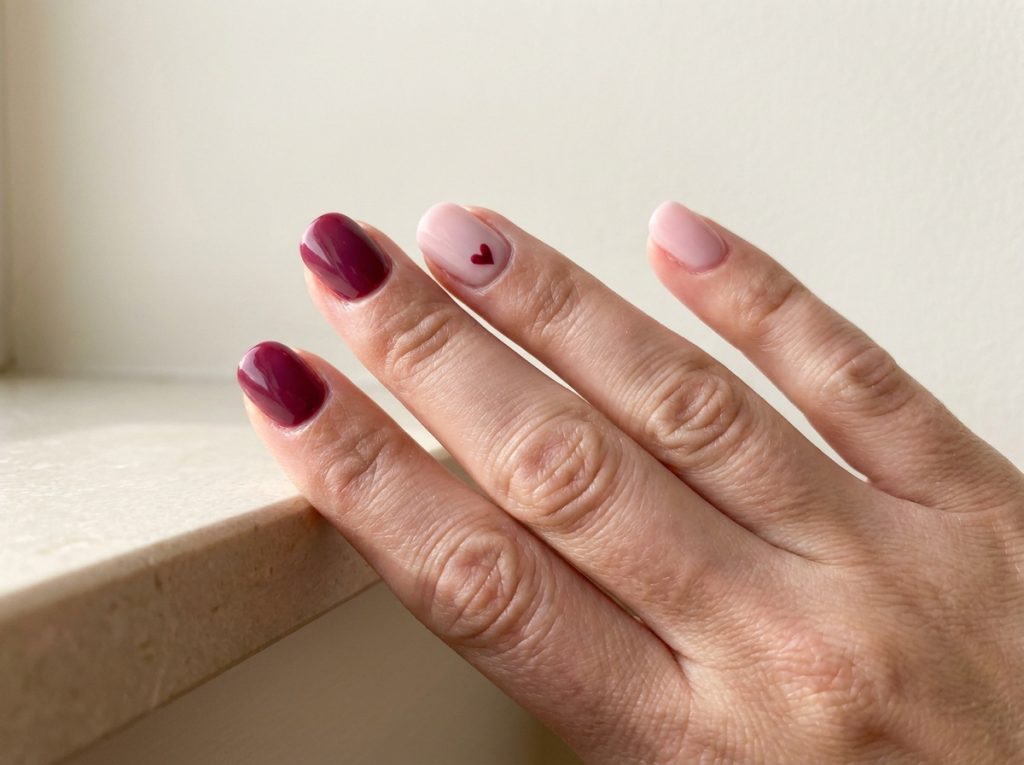
Place two small rounded marks close together, then use a fine tool to bring their lower edges toward one point. Work gently so the top remains rounded and the bottom becomes a small taper. Practice this on a tip before attempting it on your finished base.
Do not begin with oversized dots. A heart grows as you connect the lower edges, and a large starting shape can quickly fill the nail. It is easier to make a modest heart with space around it than to reduce one that has spread too far.
If the heart becomes an oval, let it dry as directed and decide whether to keep it as an abstract accent. Adding more and more polish to force the point can create a thick shape. A small heart sticker is a reasonable alternative when you want the look without the painting exercise.
4. A simple five-petal flower
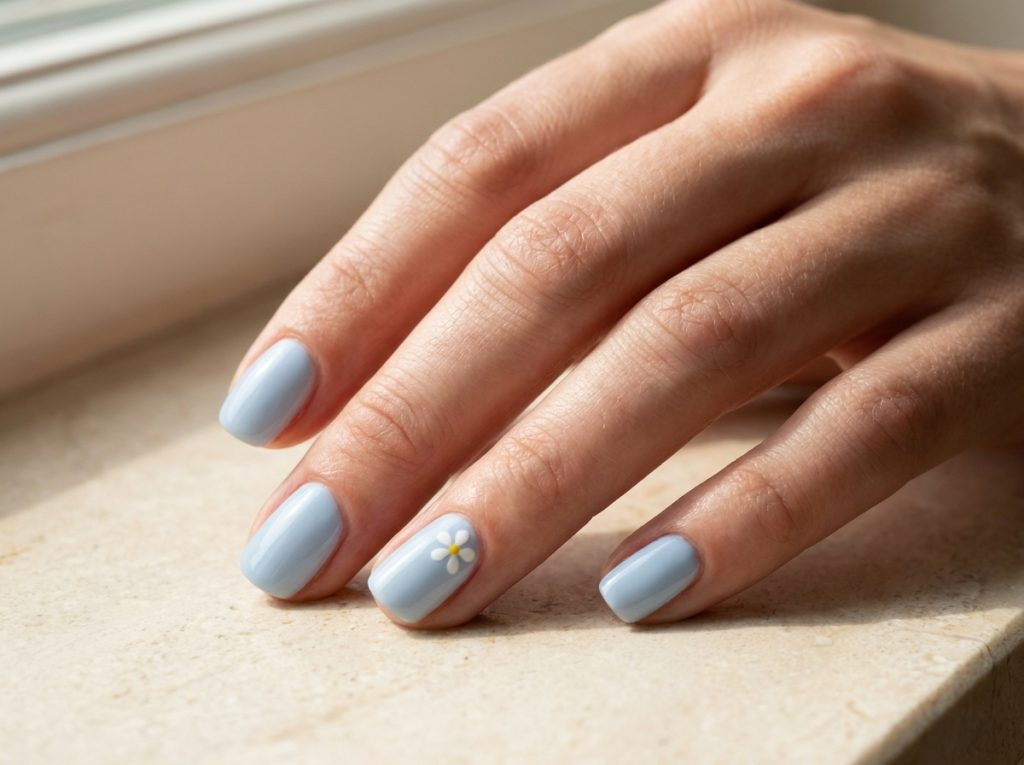
Place five small dots in a ring, leaving a tiny gap in the middle. After the petals are ready for another layer, add a smaller center dot in a contrasting color. Use only one flower on the accent nail at first.
The flower needs enough space for the petals to remain separate. If the dots merge into one scalloped circle, reduce their size on the next attempt rather than adding an outline to explain the shape. On a short nail, a three- or four-petal abstract flower may fit more comfortably than a crowded five-petal one.
Choose the petal color to contrast with the base. White petals over cream may be very subtle; white over blue or pink will be clearer. Keep the center small so it does not cover most of the petals and turn the flower into a large central dot.
5. A tiny cherry pair
Paint two small red or berry dots side by side, with a slight gap between them. Add two short green or brown stems that meet above the pair. The shape should remain compact, with background visible around the fruit and stems.
This is a step beyond a plain dot because the stems need more control. Practice the two short lines before painting them on the nail. If the lines are too thick, the cherries can look crowded; use a finer nail-art brush or choose a cherry sticker sized for your nail.
Keep the rest of the set simple, perhaps pale pink or cream. A cherry on one nail is enough to establish the theme. Repeating red as a solid thumbnail can connect the accent to the whole hand without adding more tiny fruit.
6. A soft cloud cluster
Make three overlapping rounded marks in a pale color, with the middle one slightly higher. Add a short flatter lower edge only if needed. This creates a small cloud-like shape without requiring a precise cartoon outline.
Use the cloud on one blue, lavender or pink accent nail. Keep it away from the sidewalls so the outline remains visible. A cloud that touches both edges can look like a broad stripe rather than a small floating shape.
If you want a second cloud, make it smaller and place it diagonally from the first. Leave a clear gap between them. On a short nail, one cloud is usually easier to read than two shapes competing for the same space.
7. A dotted crescent near the tip
Place a few small dots in a shallow curve near the tip of an accent nail. Leave background between them instead of joining them into a solid line. This gives the suggestion of a border without requiring a continuous French tip.
Count the dots on your first accent and use that as a starting point on the second hand. The exact spacing can change with nail width, but a similar count and size help the two accents look related. If the little finger is too narrow, leave it plain rather than reducing the dots until they are difficult to control.
Try a dark detail over a pale base for the first version. A metallic dot border can also work, but reflective products may behave differently from cream polish. Test the mark on a tip before painting the finished manicure.
8. A small rounded bow suggestion
Use two tiny oval marks placed side by side with a small center dot between them. Add short tails only if there is enough room. The idea is a simplified bow, not a detailed ribbon illustration.
Keep the ovals modest in size and slightly angled outward. If they become too large, the bow can resemble a pair of eyes or a butterfly. That is not necessarily a failure; decide whether you like the abstract shape before adding more detail to force a specific reading.
A bow sticker may be the better choice if you want a crisp silhouette. Choose a flat design that fits comfortably on the nail and follow its finishing directions. There is no requirement to paint every motif by hand for the manicure to feel personal.
9. A small cluster of mixed-size dots
Place one medium dot and two smaller dots near one side of an accent nail. Arrange them so the cluster feels like it is moving diagonally rather than sitting in a rigid row. This is an abstract design that works in almost any palette.
Choose the largest dot first and leave space for the others. It is easy to start too close to the edge and then crowd the remaining marks. If you want more color, use a second detail shade for one small dot, but keep the base and larger dot unchanged.
This arrangement is useful when exact representational shapes feel frustrating. The dots do not have to become a flower, face or fruit. Their size and spacing are enough to make a complete accent. Our neutral nails with color details show how a small cluster can fit into a quieter overall manicure.
Match the shape to your nail space
A wide thumbnail can hold a heart or flower that would overwhelm a little fingernail. Use that difference rather than treating every finger as an identical canvas. The same motif can appear once per hand while the smaller nails stay solid.
Before painting, draw the shape at roughly nail size. If the sketch needs several tiny parts to be recognizable, simplify it. A flower needs petals and a center, but not necessarily leaves. A cherry pair needs two fruit shapes and stems, but not highlights on every cherry.
For shorter nails, our short color-block guide offers layouts that use larger simple areas rather than tiny details. You can combine one small motif with plain color blocks across the rest of the hand without making every nail busy.
Avoid the correction spiral
The correction spiral begins when one dot is a little too large, so you enlarge the others, then enlarge the first again. The same thing happens with hearts and flowers. Set a rough size limit before starting and stop when the shape reaches it.
View the nail from normal distance before deciding it needs repair. Small variations are often less noticeable than they seem while you are working inches from the surface. If the shape is truly unclear, removing and repainting that one accent may be simpler than covering it with several more layers.
Keep a fallback design in mind. A misshapen heart can become a rounded abstract mark; an uneven flower can become a small dot cluster. A fallback should simplify the manicure, not require more colors and increasingly complicated decoration.
Finish without dragging the artwork
Let each part reach the stage required by your polish directions before adding another layer. A dark dot can smear across a pale base if you drag a top-coat brush through it too soon or press too hard. Use a controlled pass and avoid repeatedly brushing the same motif.
If smearing keeps happening, change one variable at a time: the amount of detail polish, the waiting stage or the brush pressure. Our polish smudging guide helps separate these problems. Changing everything at once makes it difficult to know which adjustment actually helped.
Do not use an unfamiliar product as an improvised sealant. Follow the intended system for your lacquer or decals. The finishing step should protect the design without introducing a new compatibility problem after the careful work is already done.
Questions about cute accent nails
What is the easiest shape to begin with?
A single dot is the simplest because it uses one movement. A three-dot triangle is a useful next step for spacing. Hearts, flowers and cherries add more decisions, so practice those after you can place dots at the size you want.
Can I use a toothpick?
Some people use household tools for nail art, but a purpose-made dotting tool offers a smooth, predictable tip. Avoid sharp points against the nail or skin. Whatever tool you choose, practice the mark first and use it lightly rather than scraping or pressing into the surface.
Should both hands be identical?
They can be, but similar is enough for a coherent set. Repeat the palette, accent finger and approximate motif size. A slightly different heart angle or flower spacing will usually matter less than changing the entire arrangement on the second hand.
How can I make a cute design more understated?
Use one accent per hand, reduce the contrast or choose a smaller motif with plenty of background around it. You can also keep the same shape but replace bright colors with dusty pink, taupe or deep berry. The layout stays playful while the palette becomes quieter.