
Why Nail Polish Smudges: 8 Application Mistakes to Check
“My polish smudged” can describe several different problems. A brush may drag one color through another, a sleeve may leave a dent after painting, or a thick layer may shift when you thought the surface was ready. The best fix depends on what happened and when, so start by naming the mark instead of adding another coat automatically.
This guide covers ordinary air-drying nail polish. It does not provide gel-curing instructions or a universal drying time. Use the directions for your actual products and treat a quick-dry claim as product-specific guidance, not a promise that every layer and every activity will behave the same way.
Identify the mark before changing your routine
A smear moves color from one area into another. A dent changes the surface shape, often after contact. A brush track may appear during application when the bristles disturb the layer. A chip removes part of the finish later and is a different problem from a fresh smudge.
Write down when the mark appeared. Was it visible as soon as the brush passed? Did it show up while applying a top coat? Did the nail look fine until you got dressed? That timing is more useful than simply deciding the polish takes too long to dry.
If the issue is uneven pale color rather than displaced polish, our streak-free pale-polish guide is the better starting point. Adding more drying time will not necessarily solve a formula that is deliberately sheer or a brush pattern created during application.
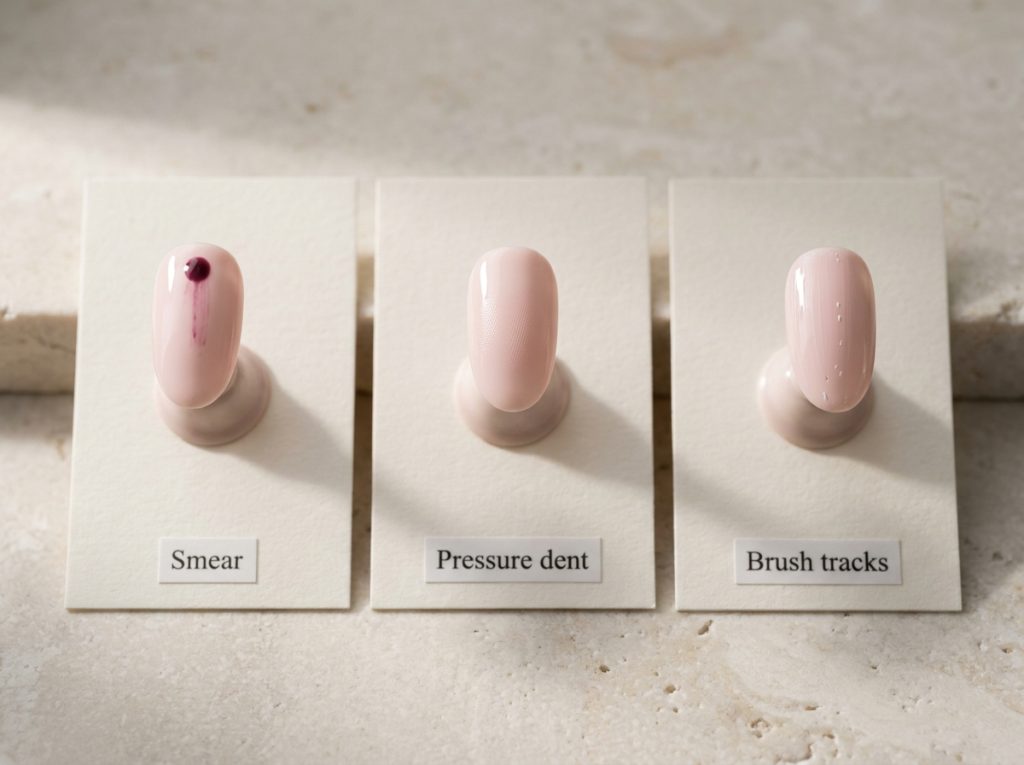
1. Applying more product than you can control
A heavy layer can look satisfyingly opaque at first, but it may create a surface that is harder to manage. Follow the product’s application guidance and use controlled layers rather than trying to finish the color in one overloaded pass.
Notice whether you apply more polish to the harder hand because you are moving slowly or trying to cover a gap. That difference can explain why one hand seems more vulnerable to marks. Keep the loading approach consistent so the comparison is meaningful.
If a nail has become thick and uneven through repeated corrections, removing and repainting that one nail may be simpler than adding another finishing layer. More product is not always a repair. The goal is a controlled surface, not the maximum number of coats.
2. Repeatedly brushing a layer that is changing
Polish does not remain in the same working state indefinitely. If you keep brushing an area as it begins to set, the bristles may disturb it rather than smooth it. This can leave tracks, gaps or uneven ridges.
Plan your passes and avoid returning to a small imperfection immediately without a reason. Let the layer reach the next stage specified by the product before assessing whether another application is needed. A slight variation in a first layer may be easier to address later than after several rushed corrections.
Practice on a tip with fewer passes and compare it with your usual method. Change only that variable at first. If the result improves, you have a useful adjustment; if not, look at loading, brush condition or the formula rather than assuming you simply need to move faster.
3. Adding nail art before the base is ready
A dot, line or sticker adds another action to the base surface. If the base is not at the stage required for that action, the detail can disturb it. A dotting tool may pull color, a brush may drag a groove, or adhesive may lift the layer underneath.
Follow the directions for the polish and any guides or decals you use. A surface that looks dry is not automatically ready for every kind of pressure or adhesive. Test an unfamiliar combination on a practice tip before applying it across a finished manicure.
Keep the first design simple while you learn the sequence. One dot is easier to troubleshoot than a full pattern with several colors and sticker layers. Our small-shape accent guide includes designs that let you practice a single detail without adding too many variables.
4. Dragging a finishing brush through the detail
A dark dot or line over a pale base can smear if the finishing brush pulls through it. This may happen because the detail is not ready, the brush pressure is too strong or you repeatedly pass over the same area.
Use the finishing product as directed and make controlled passes without pressing the bristles into the artwork. Do not try to stretch an almost empty brush across a delicate motif. At the same time, avoid flooding the nail with a large amount of product in the hope that it will solve every problem.
If the same detail smears repeatedly, test the base, art color and top coat on a tip. Change one factor at a time and record the result. Compatibility and product behavior matter; a method that works for one combination may not work identically for another.
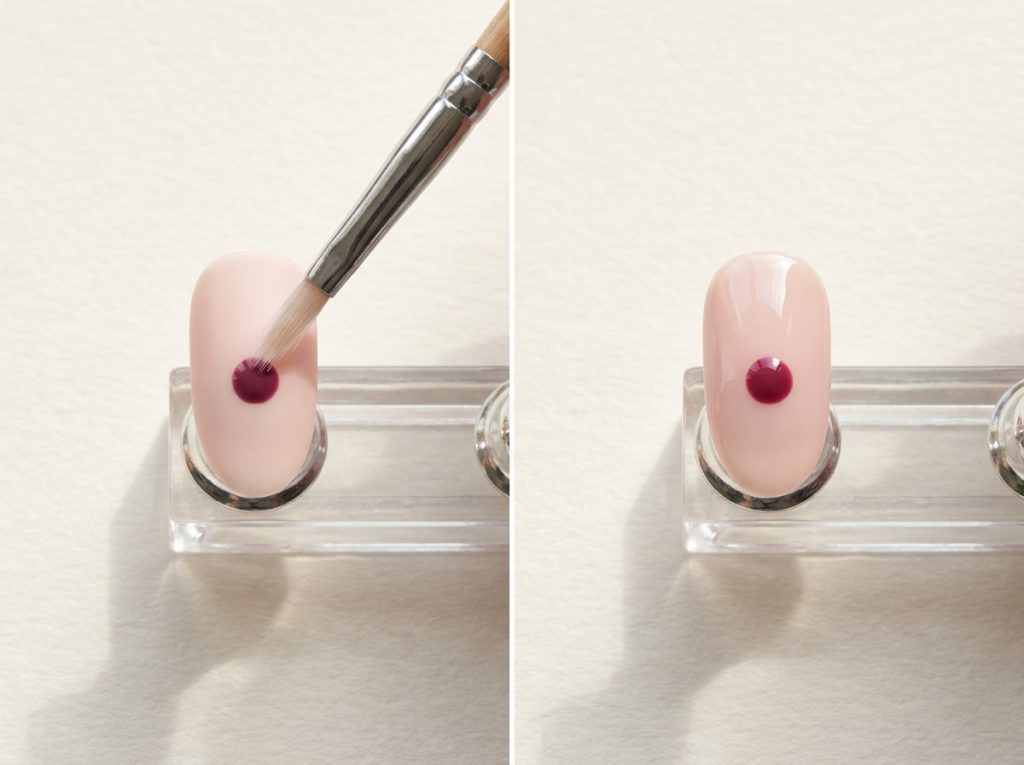
5. Planning no time after the final coat
The manicure does not end the moment the last brush stroke is complete. You still need to follow the product’s drying guidance and avoid activities that can mark the surface. Getting dressed, fastening jewelry or searching through a bag immediately afterward creates unnecessary contact.
Prepare before painting. Open packaging, set out your keys, choose your clothes and place anything you will need within reach. This is a practical way to reduce smudges without adding another product to your routine.
If you have a fixed departure time, choose a simpler manicure or paint earlier. A complicated first attempt with several detail layers is a poor fit for the last few minutes before leaving. Our October manicure plans include whole-color options that reduce detail work while still looking intentional.
6. Treating every quick-dry claim as the same promise
Different products describe drying in different ways and under particular application conditions. Read the directions for the formula you use. A quick-drying color, a finishing product and drying drops are not interchangeable categories, and one claim does not automatically apply to every layer beneath it.
Avoid testing readiness by repeatedly pressing a nail into the surface. That can create the very mark you are trying to prevent. Instead, follow the recommended process and plan enough undisturbed time for the activities you intend to do next.
Do not use a lamp as an improvised dryer for ordinary lacquer. Air-drying polish and true gel systems work differently. If a product says it needs a specific curing process, follow that system; if it is ordinary polish, use its intended drying method.
7. Adding unfamiliar products to solve the problem
When a manicure keeps smudging, it is tempting to add a different top coat, a spray, drops and an extra base all at once. That can make troubleshooting harder because you no longer know which product is responsible for the result.
Start with a simple compatible routine and change one item at a time. Check the manufacturer’s guidance before combining systems. A product intended for gel should not be added to ordinary lacquer as a shortcut just because both can create a shiny surface.
Keep notes on successful combinations. A short record of the color, base, finish and application method is more useful than a drawer of partially tested products. Once you find a routine that works for you, use it consistently while learning new artwork.
8. Trying to hide every mistake under more decoration
A small local mark may be adaptable, but a soft or heavily disturbed surface is not a good foundation for a complicated cover-up. Adding dots, glitter or a large sticker can introduce more layers without solving the underlying problem.
Decide whether the damage is limited to one area. A tiny imperfect dot can sometimes become a slightly larger intentional shape after the surface is ready. A broad dragged patch may be easier to remove and repaint on that nail. Keep the repair proportional to the problem.
Have a simple fallback design. If a fine curve smears, a solid accent nail may be the cleanest finish. If a small motif is difficult, replace it with a dot on both hands. The two-color manicure guide offers complete-looking arrangements that do not depend on preserving every original detail.
A troubleshooting sequence that saves guessing
First, identify when the mark appeared. Second, check the product directions. Third, choose one likely variable to test on a practice tip. Fourth, compare the result before changing anything else. This keeps the process specific rather than turning every manicure into a new experiment with all different products.
For example, if a black dot smears only when top coat is applied, focus on the detail’s readiness, the finishing technique and compatibility. If the whole nail dents while getting dressed, focus on layer thickness, the drying guidance and the timing of that activity. These are different problems even though both may be called smudges.
If a product has changed noticeably in consistency or performance, inspect it and follow storage guidance. Do not add unrelated liquids to restore it. A practice tip can help you decide whether the issue follows the product or changes with your application.
| Mark | When it appears | First check |
|---|---|---|
| Dragged color | During top coat | Detail readiness and brush pressure |
| Tracks or gaps | During color application | Loading and repeated passes |
| Fabric or pressure dent | After painting | Layer thickness and activity timing |
| Lifted base under a guide | Removing adhesive | Guide directions and base readiness |
Set up a lower-contact manicure session
Choose a stable table, good light and a place to rest both hands. Put the bottles on a secure surface where you can reach them without stretching over freshly painted nails. Keep the tools you need visible and remove unnecessary items that make the workspace cramped.
Open sticker packets and select sizes before painting. If you are following a design, keep the reference on a screen that will not require constant touching. Draw the finger order on paper so you are not scrolling through inspiration images with wet polish.
Paint the more difficult hand when you have enough concentration. A rushed final hand often receives heavier layers and more corrective strokes. Our non-dominant hand guide offers a practice sequence for making that part of the manicure more controlled.
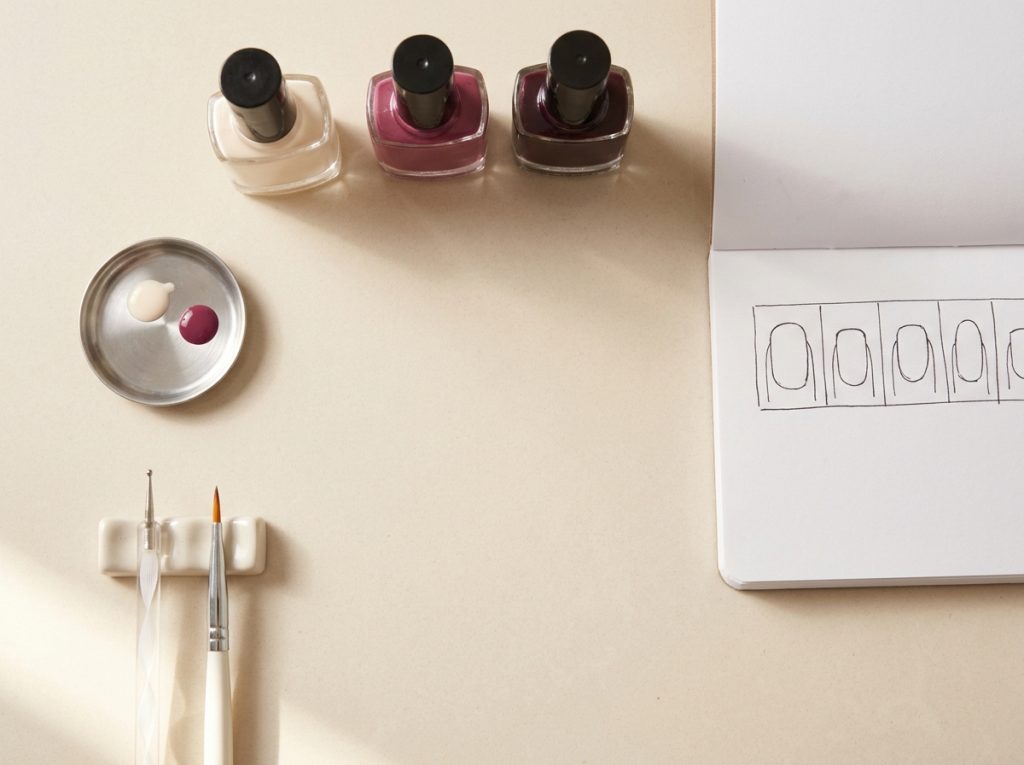
Keep a record of when the mark happened
After a problem manicure, write a short factual note: which layer was being applied, what touched the nail and whether the mark affected one finger or the whole hand. A note such as “ring-finger dot dragged during the first top-coat pass” gives you a clear next test. “Everything smudges” does not.
Keep the note with the product names so you can recognize repeated patterns. If the same issue occurs only with one combination, investigate that combination before changing your whole technique. If it happens across several products only when you dress immediately afterward, the schedule deserves attention. This simple record turns an annoying result into information you can use on the next attempt.
Common questions
Can I fix a dent with top coat?
It depends on the extent of the mark and the product, but another layer is not a guaranteed repair. A shallow surface imperfection may look less noticeable after appropriate finishing, while a deep disturbed area may need repainting. Do not keep building thickness over a soft damaged layer.
Why does only my second hand smudge?
Compare your application and timing on that hand. You may load more polish, make more passes or begin using the hand sooner. Treat it as a practical difference to investigate rather than proof that you cannot paint with your non-dominant hand.
Should I use cold water or household tricks?
Do not replace the product’s drying instructions with a general internet shortcut. Use products and methods intended for your polish system. Planning the session, controlling layers and avoiding premature contact give you clearer variables to work with than adding an unrelated trick.
Does a shiny surface mean the polish is ready?
No single visual cue establishes readiness for every formula and activity. Follow the product directions and allow appropriate undisturbed time. A surface can look smooth while still being vulnerable to pressure or contact.
What is the best first change to make?
Choose the change that matches when the damage occurs. Reduce overworking if marks appear during painting, review detail timing if art smears under the brush, or change your post-painting schedule if dents appear while dressing. One targeted adjustment is easier to evaluate than changing the entire routine.