
A Simple Checklist for Painting Your Nails at Home
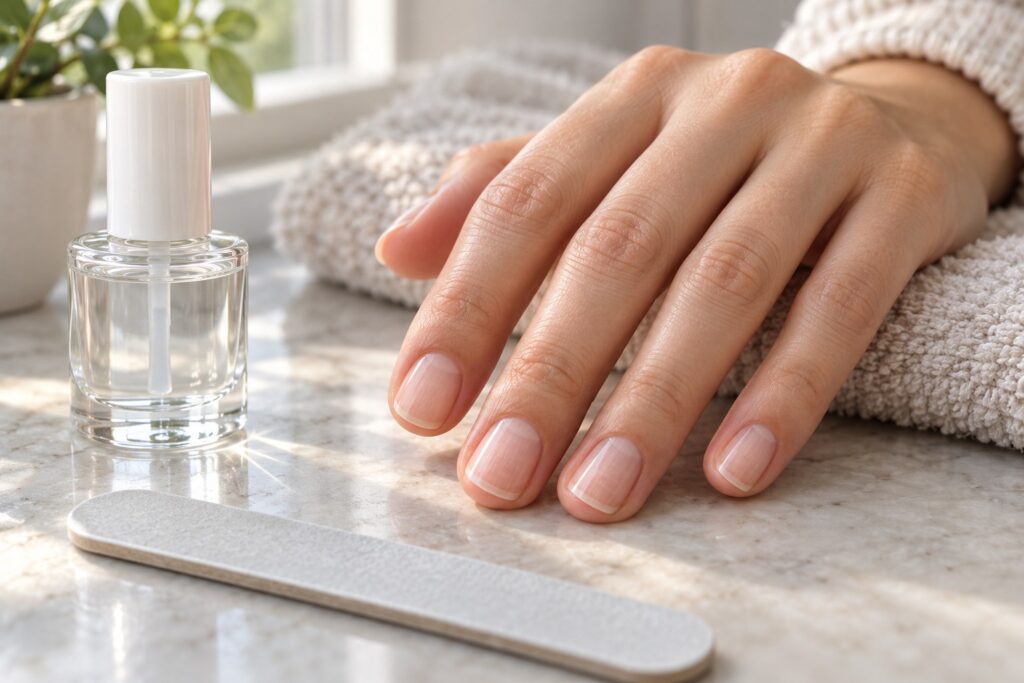
A home manicure is easier to approach when you have everything ready before opening the polish. You do not need an elaborate routine to paint a simple color; a clear workspace and enough drying time are useful starting points.
This checklist focuses on regular air-dry polish. Gel, acrylic, and other enhancement systems have different requirements and should not be treated as the same process.
Gather a small set of tools
- A suitable nail file.
- Your chosen regular polish and any base or top coat recommended for it.
- A compatible remover and pads, if you need to remove old polish.
- A stable surface with good light and ventilation.
- Time to let the manicure dry without immediately using your hands.
Read product labels first. They tell you about application, warnings, drying times, storage, and any ingredients or methods you need to avoid.
Choose a manageable shape
Start with a length that fits your day-to-day tasks. Short rounded and squoval shapes are straightforward options, but comfort matters more than following a particular style.
File gently and make small changes. Check the nails together so you do not accidentally shorten one much more than the others. There is no need to aggressively buff the nail surface for a regular polish manicure.
Prepare without overdoing it
Remove old polish using the directions for your remover. Make sure the nails are clean and dry before painting, and follow any preparation steps required by your polish system.
Avoid cutting living skin or applying polish over sore or damaged areas. If something hurts or seems wrong, pause rather than trying to cover it with color.
Use thin coats
Apply the base coat if recommended, then your color in light layers. Leave space at the skin around the nail. Thick coats can be harder to control and may take longer to dry.
Wait for the time stated on the product before moving to the next step. A surface that looks dry may still mark easily, so avoid assuming every polish dries at the same speed.
Plan the time after painting
Choose a moment when you can leave your hands alone for a while. Preparing clothes, keys, or anything else you will need beforehand helps reduce accidental dents.
If a nail chips later, you can decide whether to touch up the small area or remove and repaint it. Follow the product instructions rather than peeling polish from the nail.
Keep your first attempt simple
A single color is enough to practise control, coat thickness, and drying time. Add French tips or tiny dots later if you want to try nail art. Making fewer design decisions at once lets you focus on a comfortable routine.
Image note: the featured photo is an AI-generated illustration of a manicure idea. These tips are general beauty information, not medical advice.