
How to Paint Pale Nail Polish: 9 Ways to Reduce Streaks
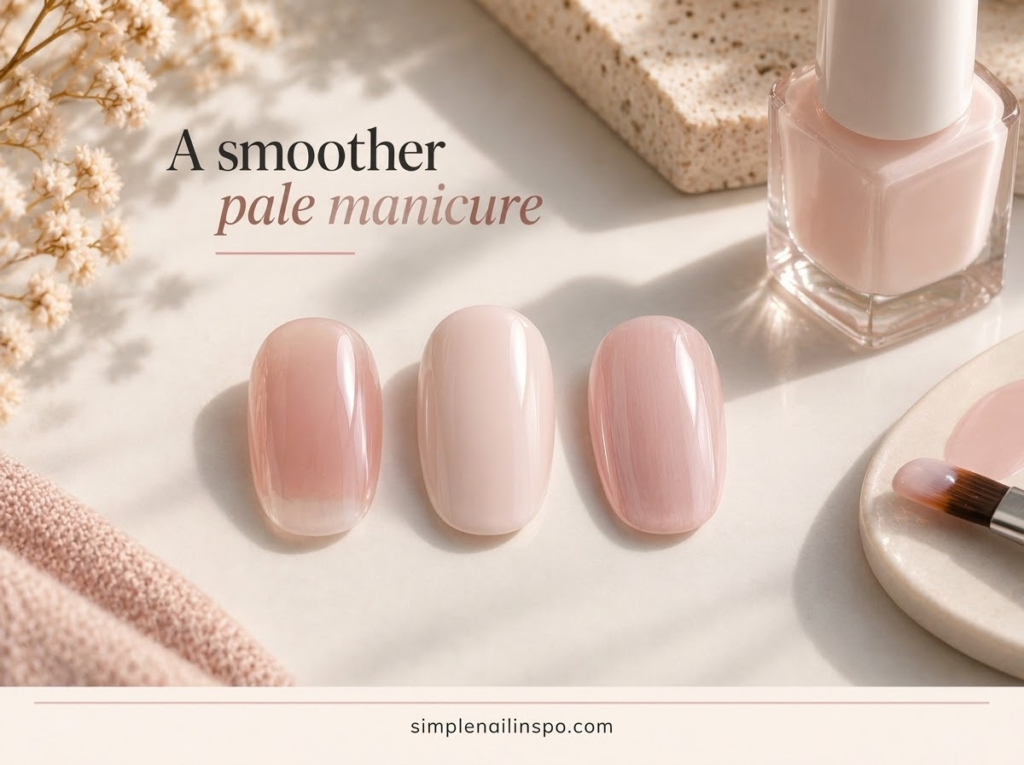
Pale polish can be frustrating because every gap seems visible while you are painting. The first layer may look translucent, the second may drag, and an extra corrective coat can turn a small problem into a thick uneven surface. Before adding more product, work out whether you are seeing intended sheerness, uneven coverage or a formula that is no longer behaving well.
This guide offers nine checks for ordinary air-drying nail polish. It does not cover gel curing or prescribe one drying time for every brand. Follow the directions for your own base, color and finishing products, and change one part of your process at a time so you can tell what actually helps.
First decide what finish you are trying to create
A sheer pink is not meant to look like an opaque white cream. If the natural nail remains evenly visible through the color, that may be the intended finish. Streaks are uneven bands or gaps that interrupt the color in a way you did not want.
Look at product swatches and descriptions before judging your application. A bottle can look dense while the polish is designed to remain translucent on the nail. If you want full coverage, choose a formula intended to provide it rather than repeatedly layering a sheer shade beyond its recommended use.
Our jelly-look manicure guide explains why visible nail lines can be part of a deliberate style. Knowing which result you want is the most useful first step, because no brush technique can turn every sheer formula into the same opaque finish.

1. Read the product’s application sequence
Check whether the polish calls for a base coat, a particular number of color layers or a compatible top coat. Different systems do not always use the same sequence. A routine you learned for one product may not be the intended routine for another.
Keep the instructions nearby for the first use instead of relying on a general social-media rule. Note whether the next layer is applied after drying or at another specified stage. Do not replace that guidance with a fixed number of minutes taken from an unrelated product.
If you are using a separate base or topper, check that it is intended for your lacquer system. Adding an unfamiliar product can create a new variable when you are trying to diagnose streaks. Start with a simple, compatible sequence before experimenting with extra layers.
2. Check the brush before blaming your hand
Look at the brush shape and whether the bristles spread evenly. Dried product or a damaged tip can make a smooth pass harder. Clean only as directed for the product and do not pull or cut the brush into a new shape as an improvised fix.
Notice how wide the brush is relative to each nail. A broad brush may cover the thumb easily but feel awkward on the little finger. You may need to change the angle or use a lighter touch on the smaller nail rather than applying the same pressure everywhere.
Practice one pass on a spare tip if you are unsure how much the brush fans out. This helps you see whether the tool naturally leaves a narrow stripe or a broad area. Understanding that footprint makes it easier to plan overlapping passes without repeatedly brushing the same wet patch.
3. Use a controlled amount of polish
A brush that is almost dry can drag and leave gaps. A heavily loaded brush can flood the surface and make the layer difficult to control. The useful amount is enough for a smooth pass within the product’s intended application, not the smallest or largest amount possible.
Pay attention to how much product remains on each side of the brush after wiping it against the bottle neck. Use a consistent approach while you learn the formula. If every nail receives a very different amount, it becomes difficult to tell whether the streaking comes from the polish or the application.
Do not solve a pale patch by dropping a large bead of polish into it while the surrounding layer is changing. That can create a raised area. Let the layer reach the stage specified by the product and assess the coverage before deciding on the next step.
4. Reduce unnecessary brush passes
Plan a small number of controlled passes that cover the nail, allowing enough overlap to avoid gaps. The exact number depends on your brush and nail width. A rigid three-stroke rule is less useful than understanding how your brush covers your own nails.
Repeated back-and-forth brushing can disturb a layer that has begun to set. When you see a slight uneven area, pause before going over it again. The next appropriate layer may address it more cleanly than several immediate corrections.
Keep the brush pressure light enough that you are spreading product rather than scraping through it. If you consistently see tracks where the bristles pass, try a practice swatch with a slightly different loading amount and gentler movement. Change one variable so you can compare the result.
5. Let the first layer look like a first layer
Many pale manicures do not look finished after the first color application. Judge that stage according to the product’s intended coverage rather than the final image in your head. A thin-looking first layer is not automatically a reason to add more polish immediately.
The question is whether the layer is controlled and reasonably even for that formula. If it has a large bare gap, note where the brush missed. If it is uniformly translucent, allow the product sequence to do its work instead of trying to reach full opacity in one heavy coat.
This change in expectation can prevent overworking. You are building the finish using the directions, not forcing each intermediate stage to look complete. Take a photograph of your practice tip at each stage if that helps you see how the coverage develops.

6. Respect the timing for your actual formula
The surface can change while you are working, and different products have different instructions for the next layer. Follow those directions rather than assuming every polish needs the same pause. Room conditions and the amount applied can also affect what you observe.
Prepare your workspace so you are not rushing to dress, find keys or open packaging immediately after painting. A planned drying period is part of the manicure, not leftover time if nothing else needs doing. Quick-dry claims do not make every activity immediately risk-free.
If you are unsure whether a mark is a streak or a dent caused later, our smudging troubleshooting guide helps separate application problems from contact after painting. The solution differs depending on when the unevenness appeared.
7. Keep the base appropriate and simple
Use the base preparation and base product recommended for your chosen system. Do not aggressively buff the natural nail to chase a perfectly blank surface for pale polish. A cosmetic coverage issue is not a reason to remove more nail material.
If your nails have a new or persistent change, pain or irritation, pause the manicure and seek appropriate professional advice rather than covering it and continuing. This guide is about polish appearance, not diagnosing nail conditions.
For ordinary painting practice, keep the routine consistent between attempts. If you change the base, color, top coat and preparation at once, you will not know which change affected the result. A simple repeatable setup gives you more useful information than a long sequence of unfamiliar products.
8. Check whether the polish has changed
If a polish that once applied well now behaves differently, inspect the bottle and follow the manufacturer’s storage and use guidance. Make sure it is closed properly between uses and avoid leaving it open while you plan the next design.
Do not add remover or unrelated liquids to improvise a thinner. If the manufacturer recommends a specific remedy, follow that guidance; otherwise, replacing an unsuitable or changed product may be more sensible than repeatedly trying to rescue it with mixtures.
Compare a small swatch before committing to a full manicure. A formula that strings, clumps or no longer spreads as expected can make your technique look worse than it is. The purpose of practice is to improve control, not to compensate indefinitely for a product that is not working properly.
9. Choose a finish that matches your patience
If you love the look of pale nails but dislike fighting for opacity, consider a deliberately sheer pink or a soft shimmer that you enjoy at its intended coverage. That is a design choice, not a failure to master an opaque cream.
Alternatively, choose a pale formula with reliable opaque coverage for your preferred application. Look for swatches and product guidance that show the actual result rather than assuming all white or pink polishes behave alike. Shade names do not tell the whole story.
Keep the nail art simple while you learn the base. A single colored dot over a well-chosen neutral can look more finished than a complex design over a background you are still trying to correct. Our neutral nails with color details provide several small accents that let the pale base remain the main feature.
Diagnose the pattern you see
| What you notice | First question | Useful next step |
|---|---|---|
| Even transparency | Is this a sheer formula? | Compare with the intended finish |
| Narrow bare tracks | Is the brush dragging? | Test loading and pressure on a tip |
| Thick raised patches | Did repeated corrections add product? | Reduce overworking on the next attempt |
| Marks appearing later | Did something touch the surface? | Review drying time and activities |
Use the table as a starting point, not a diagnosis of every formula. The most useful evidence is your own controlled comparison. Paint two practice tips with only one change between them, such as fewer brush passes, and compare the result after following the same finishing sequence.
A simple practice session
Choose one pale polish and three practice tips. On the first, use your normal method. On the second, focus on consistent loading. On the third, focus on avoiding repeated passes. Keep the product sequence and timing the same so the comparison remains meaningful.
Write down what changed and what you saw. “Less dragging with a slightly fuller brush” is more useful than “this polish is impossible.” If none of the controlled changes helps, the formula or intended finish may simply not match what you want.
Do not turn the practice into an endless correction session on your natural nails. Tips let you learn the behavior without repeatedly removing and repainting a manicure. Once you find a method that gives the result you like, try it on one nail before doing the whole set.
Make the next manicure a controlled comparison
After practice, choose the single adjustment that produced the clearest improvement and use it for your next simple manicure. Keep the same pale color and finishing sequence. This gives you a fair chance to see whether the change transfers from a practice tip to your hand.
Avoid adding a complicated accent during that comparison. A plain pale set or one solid-color accent is enough. If the result improves, save a short note about the method. If it does not, compare the hand position and brush loading on the natural nail with what you did on the tip. The difference may be practical rather than a reason to replace every product in the routine.
Common questions
Should I keep adding coats until the streaks disappear?
Follow the product’s intended application rather than adding unlimited layers. Extra thickness can introduce new problems. If the formula is sheer, transparency may remain by design. If it is meant to be opaque but stays patchy, review technique and product condition before continuing.
Will top coat fix uneven color?
It can change the surface appearance, but it is not a reliable way to create missing pigment coverage. Address the color application first and use the finishing product as directed. A glossy surface can still show a clearly uneven base underneath.
Is white harder than pink?
It depends on the formulas, their intended coverage and your application. A dense pink can be less forgiving than a sheer white, or the reverse. Compare specific products rather than treating every shade in a color family as identical.
What should I practice first?
Start with controlled loading and fewer unnecessary passes on a practice tip. Those are small changes you can observe clearly. Once the base looks the way you want, add a simple accent from our two-color nail ideas rather than introducing several new techniques at once.