
How to Paint Nails with Your Non-Dominant Hand: A Beginner Practice Plan
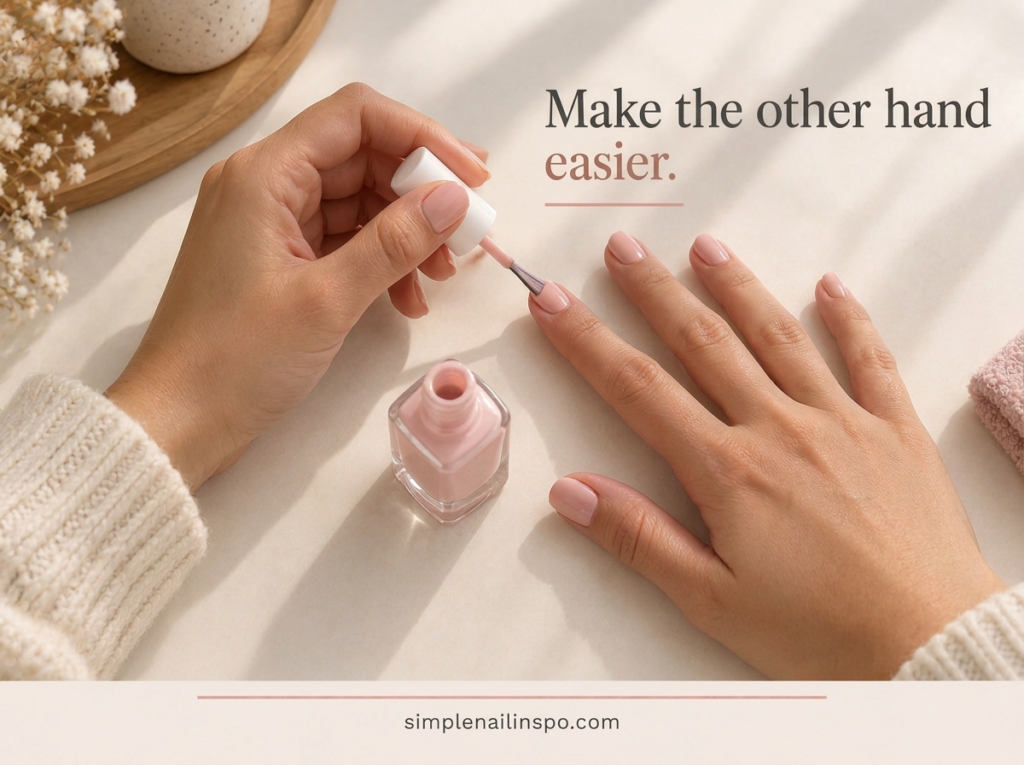
Painting with your non-dominant hand often feels like learning the manicure twice. A movement that seems easy with your usual hand can become slow, heavy or awkward on the other side. The answer is not simply to try harder to stay still. A better setup, a smaller task and a design you can repeat comfortably make practice more useful.
This plan is for ordinary nail-polish application and simple flat nail art. It breaks the work into short exercises you can try on practice tips before painting a whole manicure. Progress does not need to happen in one session, and you do not need perfect symmetry for both hands to look like a coherent set.
Define the problem you want to improve
“My other hand is bad” is too broad to help you practice. Identify the specific difficulty. Do you miss the side of the nail, press the brush too hard, load too much polish or lose control when drawing a curve? Each problem suggests a different exercise.
Compare a simple solid-color application on both hands. Notice where the process changes. You may hold the brush more tightly, lift the receiving hand off the table or turn your wrist into an uncomfortable position. Those changes are worth addressing before attempting a detailed flower or several fine lines.
Choose one goal for the next session, such as a cleaner side boundary or a smaller dot. Keep the colors and tools familiar. If you change the polish, brush, design and hand position all at once, it becomes difficult to tell which adjustment helped.
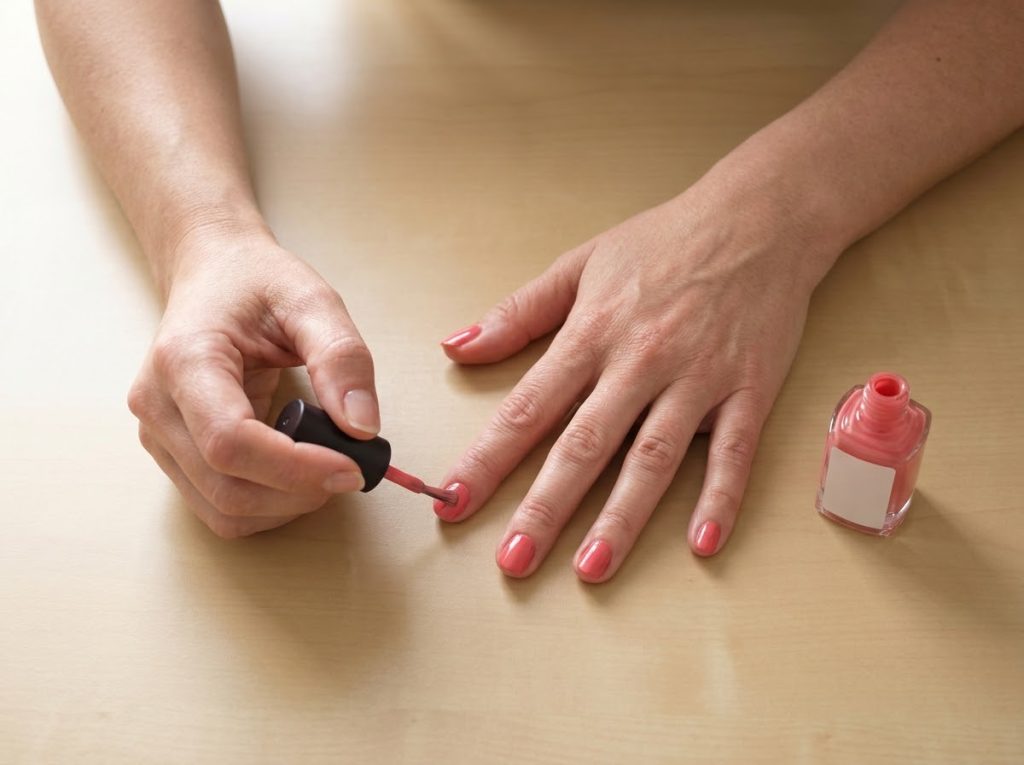
Step 1: arrange the workspace before painting
Use a stable table with enough room for both forearms. Place the polish and tools where the working hand can reach them without crossing over freshly painted nails. Good light should reveal the side boundaries rather than casting a strong shadow from your own hand.
Open packaging, select sticker sizes and write down the design order before you begin. These small preparations reduce the number of awkward tasks you need to perform after painting. Keep a cleanup method appropriate to your product nearby, but do not plan to correct every stroke as you go.
Position the reference at a comfortable angle. A paper sketch or a screen that stays visible is easier than repeatedly picking up a phone. You want your attention on the movement, not on unlocking the screen or finding the same inspiration image again.
Step 2: support both sides of the task
Rest the wrist or forearm of the working hand where it feels comfortable, and support the hand receiving the polish. The exact position will vary with your table and body, so aim for stability without forcing a rigid posture.
Move the receiving finger into a useful angle instead of asking the brush hand to reach every edge from one fixed position. A small turn can make the side of the nail easier to see and follow. Keep the movement gentle and avoid resting a freshly painted nail against the surface.
Try the position with a dry brush or capped tool first. Rehearse the path without polish so you can notice where the motion becomes awkward. Adjusting the setup before product is on the nail is much easier than solving the problem halfway through a wet stroke.
Step 3: practice a controlled brush load
Your non-dominant hand may move more slowly, which can tempt you to load extra polish so the brush will not run dry. Too much product can then make the boundary harder to control. Practice finding a consistent amount appropriate to the formula instead of treating more polish as a solution to uncertainty.
Use a practice tip and compare two passes with different loading amounts. Keep the pressure and movement as similar as you can. Look for a smooth controlled area rather than judging only how opaque it appears immediately.
Follow the product’s application directions. A first layer does not always need to look like the final result. Our pale-polish guide is useful if the urge to add more product comes from seeing expected transparency and mistaking it for a failed application.
Step 4: paint one simple practice nail
Choose a practice tip close to the size of a nail you find difficult. Paint it in a familiar color using your non-dominant hand. Focus on one thing, such as keeping the brush pressure light or avoiding repeated passes over the same area.
Let the result reach the stage required by the product before assessing it. A wet surface can change as it settles, and immediate correction may create more marks than it removes. Compare the finished tip with your specific goal rather than with a professionally photographed manicure.
Repeat the exercise once with a single adjustment. If the second attempt improves, note what changed. If it does not, try a different angle or a simpler movement next time. There is no need to paint a large number of tips in one sitting without a clear question to answer.
Step 5: move to a whole-nail color arrangement
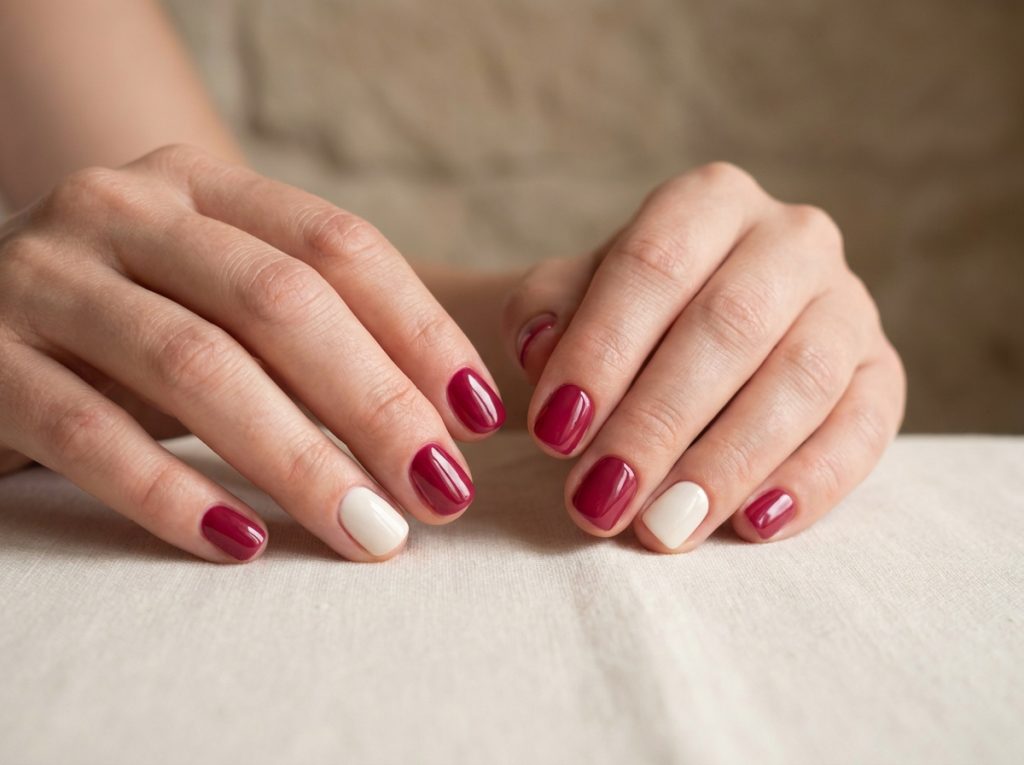
For your first full manicure practice, choose a design that uses different colors on whole nails rather than tiny details. One accent nail or alternating shades gives you a designed result while keeping the movement close to normal polish application.
Write the sequence from thumb to little finger before starting. That removes one decision while you are concentrating on control. Our two-color manicure guide includes several arrangements that work without a detail brush.
Paint the harder hand while you have more patience if that suits you. Some people prefer to complete the more comfortable hand first as a warm-up; choose the order that helps you remain deliberate. The important point is not to leave the difficult side for a rushed final few minutes.
Step 6: add one dot, not a full pattern
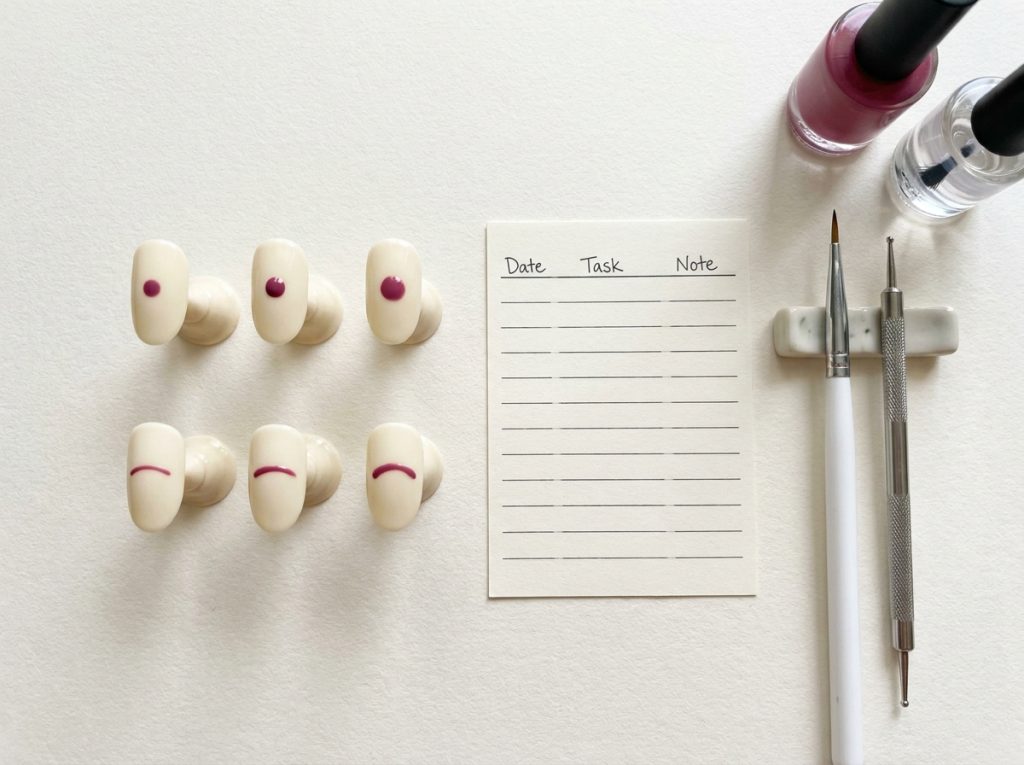
Once the base application feels more controlled, practice placing one dot on an accent nail. Support the hand, load the tool lightly and touch down without dragging sideways. Lift straight up and look at the mark before adding anything else.
Compare the dot size with a finished practice tip rather than twisting your painted hand around repeatedly. A visual reference beside you makes it easier to repeat the scale. If the second dot is larger, adjust the loading amount on the next attempt instead of enlarging both indefinitely.
The single-dot exercise teaches placement and pressure without requiring a continuous line. Our cute accent guide provides simple variations once you can place that mark comfortably. Keep the first full manicure to one dot per hand so you can focus on consistency.
Step 7: try a short line or curve
Choose a small arc or short stroke rather than a long wave across the entire nail. Rehearse the motion on a tip and notice whether the receiving hand needs to turn slightly. A comfortable path is more useful than forcing the exact angle of a reference photograph.
Use a nail-art brush suited to the mark. A short detail brush may feel manageable for a compact stroke, while a liner may help with a longer curve. Our beginner tool guide explains the differences so you can choose based on the task rather than buying every brush shape.
If the line becomes segmented, shorten it or use a dotted curve instead. A design that matches your current control can look more intentional than a complicated one repeatedly repaired. You can increase the length later when the movement becomes familiar.
Step 8: repeat a design before making it harder
Use the same simple accent for more than one practice session. Repetition makes it easier to see whether the setup and loading changes are helping. Constantly switching from hearts to flowers to geometric lines introduces new problems before you have understood the previous one.
Keep a short note after each attempt. “Supporting the receiving wrist helped” or “the dot was smaller with less polish” gives you something concrete to repeat. Avoid judging the whole manicure with a single word such as good or bad.
When the detail becomes comfortable, change one aspect: the color, the placement or the number of marks. Do not make every part more complex at once. A three-dot triangle is a reasonable progression from one dot; a full illustrated scene is a different task.
Use a simpler version on both hands
If a motif works with your dominant hand but not the other, simplify the design for both. A heart can become a dot, a long wave can become a short arc and a detailed pumpkin can become an orange oval with a stem. The manicure remains coherent because both hands share the revised idea.
You can also use a suitable flat sticker for the main motif and keep the painted elements simple. Choosing a tool that makes the design manageable is not cheating. The goal is a manicure you enjoy wearing, not a demonstration that every mark was painted freehand under difficult conditions.
For seasonal examples, our short Halloween layouts show how removing a mouth, extra lines or a second motif can make a design clearer. The same editing approach works for everyday flowers, hearts and abstract shapes.
Separate practice time from getting-ready time
A practice session works best when you have room to stop, compare and adjust. A manicure immediately before an event has a different goal: a result you can complete reliably. Choose a familiar simple design for that situation and save the experiment for another day.
Plan time after the final application according to your products. The harder hand may have received more corrections or thicker layers, so do not assume it will behave exactly like the first one. Avoid unnecessary contact while the manicure is still vulnerable.
If the main issue appears after painting rather than during the brush movement, our smudging guide helps identify whether layer thickness, activity timing or a finishing step is involved. More hand-control practice will not solve every kind of dent.
A short progress record
| Practice task | What to observe | Possible next adjustment |
|---|---|---|
| Solid-color tip | Brush tracks and side control | Change support or loading |
| Single dot | Size and placement | Use less product or a lighter touch |
| Short arc | Smoothness of the movement | Turn the receiving hand or shorten the line |
| Full simple set | Consistency across both hands | Simplify the accent or change painting order |
Take a quick photograph under similar light after each practice if you want a visual record. Compare the specific feature you are working on, not the overall perfection of the image. A cleaner side boundary or more consistent dot size is meaningful progress even when another part still needs work.
Common questions
Should I hold the brush differently with my other hand?
Use a comfortable grip that lets you control the movement without excessive tension. It may not be identical to your dominant-hand grip. Rehearse with a dry tool, support the hand and adjust the angle rather than forcing a posture that feels awkward.
How long will it take to become good at this?
There is no fixed timetable. Your starting control, chosen design and practice method all matter. Focus on a specific repeatable improvement instead of a promised number of days. A simpler design completed comfortably is a useful result in its own right.
Is it better to move the brush or the receiving finger?
Both can play a role. Small changes in the receiving hand’s position can make the brush path more comfortable. Avoid moving so much that you lose support or touch wet nails against the table. Practice the combined movement without polish first.
What if my hands naturally shake?
Choose larger simple color areas, flat stickers or a single dot, and use a setup that feels stable. You do not need fine freehand lines to enjoy nail art. If shaking is new, persistent or concerning, seek appropriate medical advice rather than treating a manicure exercise as a solution to the underlying issue.
Which finished design should I try first?
Choose one accent nail or a simple two-color sequence. Add one dot only when the base painting feels manageable. The best first design is one you can repeat on both hands with enough time to follow the product directions and enjoy the result.