
7 Chocolate and Berry Nail Ideas for a Rich Glossy Manicure
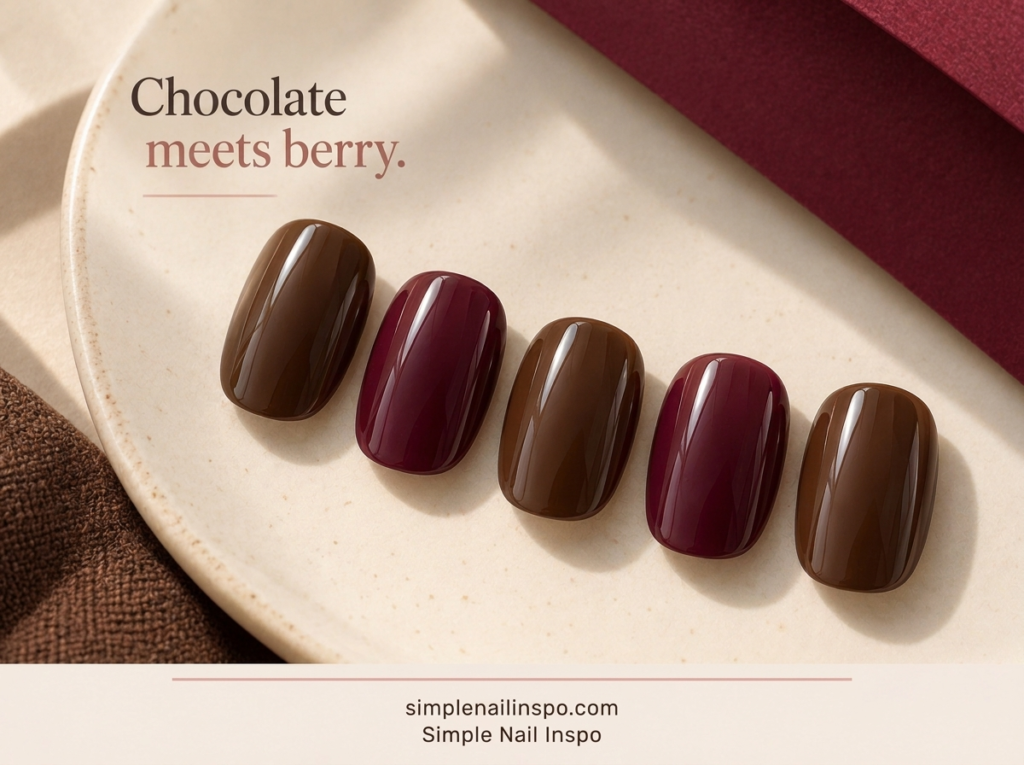
Chocolate and berry nail colors can make a manicure feel rich without needing glitter or elaborate artwork. They also offer more variety than their names suggest. Chocolate can lean warm, cool, almost black or softly milky; berry can move from muted rose to deep plum. Choosing the relationship between those shades is what makes the set feel deliberate.
These seven ideas focus on glossy color arrangements and small details. They are styling options rather than claims about which shade is currently the most popular. Use ordinary polish or discuss the desired appearance with your nail professional, following the directions for whichever product system you choose.
Compare the shades in daylight
Two dark bottles can look almost identical indoors and quite different near a window. Paint swatches or look at the colors in consistent light before planning the manicure. You may discover that your chocolate is much warmer than expected or that the berry reads more purple than red.
Decide how much contrast you want. A deep brown and a dark berry can create a quiet tonal set. A lighter milk-chocolate shade beside a saturated berry will show the arrangement more clearly. Neither is better; the right choice depends on whether you want the colors to blend or stand apart.
Check coverage as well as shade. A sheer berry and an opaque brown create a finish contrast in addition to a color contrast. That can be attractive, but it should be intentional. If you want a uniform glossy set, choose formulas that reach the coverage you like within their recommended application.

1. Chocolate with one berry accent
Paint four nails chocolate and the ring finger berry. Repeat the placement on the second hand. This is the simplest way to compare the two colors and a useful first choice if you have not worn them together before.
Choose a berry that is noticeably different from the brown if you want the accent to be obvious. If both shades are very dark, the difference may appear mainly in daylight. That quieter effect can be appealing, but do not expect a tiny color shift to read like a bold accent in every photograph.
Keep the ring finger plain. The color difference is the detail. If you later want a motif, use a small cream dot or a simple sticker on that accent, but judge the plain version first before adding another shade.
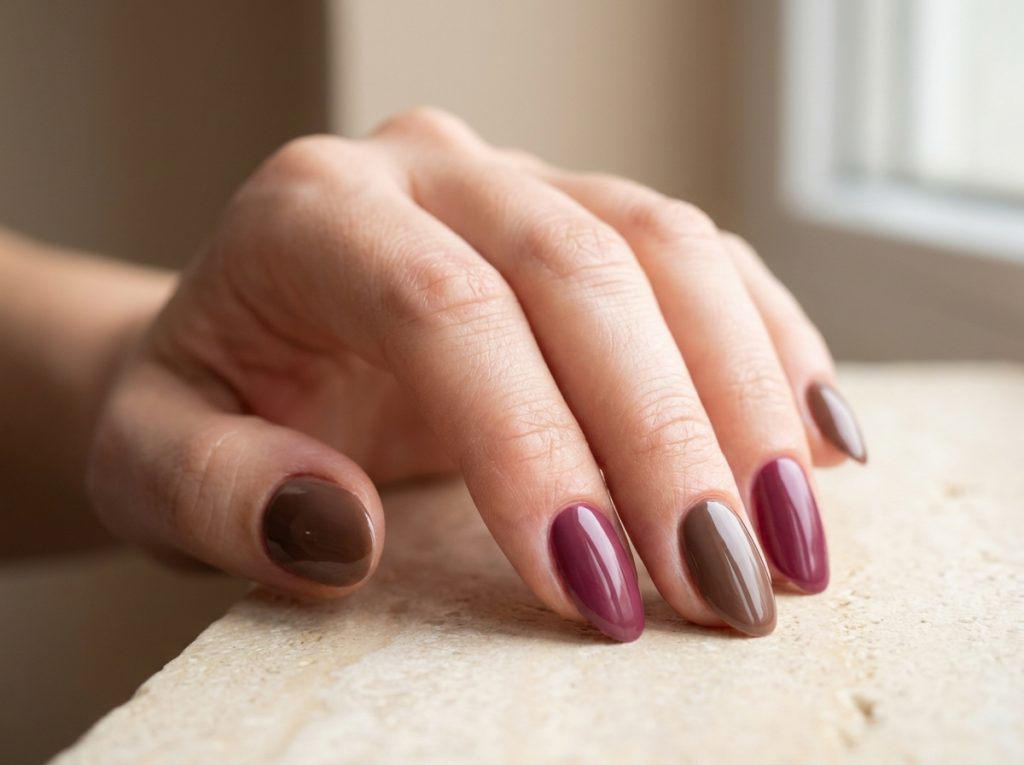
2. Berry with a warm brown pair
Use berry on the thumb, index and little finger, then paint the middle and ring fingers chocolate. The neighboring brown nails create a larger block of warmth across the hand. This arrangement feels more balanced than scattering several unrelated accents.
A medium brown makes the pair easy to see, while espresso creates a darker tonal effect. Compare the colors beside your usual clothes if that helps you choose. A warm camel sleeve can bring out the brown, while charcoal can make the berry appear more prominent.
Mirror the arrangement on the other hand for a clear set. If you prefer asymmetry, swap the proportion rather than introducing another color: three brown nails and two berry nails on the second hand still belong to the same palette.
3. Alternating chocolate and berry
Alternate the shades from thumb to little finger. The color that starts the sequence will appear three times, so choose the one you want to dominate slightly. Repeat the sequence on the other hand or reverse it for an even total across both hands.
This is a strong option when the shades have similar coverage and shine. The repeated contrast becomes the design, so no dotting tool or detail brush is needed. It also works on very short nails because each nail remains one clear area of color.
Write the sequence down before painting if you tend to lose track while applying layers. Our two-color manicure ideas include other whole-hand arrangements using the same simple principle of repeating colors in a planned order.
4. A cream accent with two small dots
Paint most nails chocolate or berry and reserve one accent for cream. Add one small chocolate dot and one small berry dot to the cream nail, leaving visible space between them. This brings both dark colors into the accent without drawing a complex motif.
Place the dots diagonally rather than in a rigid centered row if you want a relaxed effect. Keep them small enough that cream remains the main feature of the nail. A pair of large dots can quickly become the entire design on a short surface.
If one of the dark colors is sheer, test its dot over cream first. It may look lighter than it does as a full manicure color. You can keep that softer effect or choose a solid accent arrangement instead. Do not add a thick mound of polish just to make one dot match the other in opacity.

5. A berry curve over a light brown base
Choose a lighter brown or taupe base and add one short berry curve near the side of an accent nail. The curve gives the set a small movement without making it heavily patterned. Keep the other nails plain in the base color.
A deep berry line needs enough contrast against the brown to remain visible. If the colors are too close, use a larger rounded berry patch or make one whole nail berry. Changing the size of the color area is often more effective than tracing the line repeatedly.
Practice the curve on a tip before painting it over your finished base. Our curved nail-art guide includes short arcs, dotted curves and rounded blocks, so you can choose the version that fits your tools and current control.
6. Chocolate with a reflective warm accent
Use chocolate on most nails and a warm reflective finish on the ring finger. The accent might be champagne, bronze-toned or a reflective rose, depending on the effect you like. This is a finish contrast rather than a direct chocolate-and-berry pairing, but it works well when your wardrobe already includes those rich shades.
Choose the reflection deliberately. A soft pearl effect will feel different from a strong metallic or mirror-like finish. Our finish comparison guide explains those distinctions and why the product system matters as well as the color.
Keep the reflective nail free of extra art. Its changing light already provides interest. If you want berry in the set too, use it as one plain nail rather than adding several tiny red details over the reflective surface.
7. A rich set with one sheer berry nail
Paint most nails in opaque chocolate and use a translucent berry on one or two accents. The difference in coverage gives the manicure depth without adding an illustrated motif. Choose this only if you like the natural nail remaining visible through the berry.
The sheer accent may look lighter at the tip or show the natural free edge. That is part of the transparent effect. If you want every nail uniformly opaque, use an opaque berry instead of trying to build a sheer polish beyond its intended finish.
Our jelly-look nail guide explains how to choose translucent color and pair it with opaque accents. Testing one nail first is useful when you have not worn the formula before, because a swatch on a clear tip may not predict its exact appearance over your natural nail.
Keep dark colors tidy without overworking them
Dark shades can make the outline of the manicure more visible. Work with controlled layers and leave the product on the nail surface, following its directions. Do not use a heavily loaded brush to compensate for moving slowly; that can make the edge harder to control.
Support the hand and choose a position where you can see the side you are painting. Turn the receiving finger when needed rather than twisting the brush into an uncomfortable angle. Small changes in setup can help more than trying to force a perfectly steady unsupported hand.
If one edge is untidy, address it with an appropriate method for your polish system rather than scraping the nail or skin. For ordinary lacquer, a suitable cleanup tool used carefully according to product directions can help, but repeated correction across wet layers can spread the color. Keep the correction local when possible.
Prevent the set from looking almost black
Very deep chocolate and berry can both read as black in low light. If you want the colors to remain distinct, choose at least one medium-depth shade. A milk-chocolate accent beside dark berry can make the palette more readable than two nearly black colors.
You can also include one light neutral nail. Cream or pale pink creates a contrast that reveals the warmth of the brown and the red or purple direction of the berry. Keep the neutral’s role simple rather than turning it into a crowded illustration surface.
Photograph the manicure in soft daylight if you want to show the color accurately. A dark room with a bright reflection may reveal only shine and hide the actual shade. Move the hand until the reflection does not cover the center of every nail.
Choose gloss as a design decision
A consistent glossy finish can connect two different colors. It also creates reflections that change with hand position. Use the finishing product intended for your polish system rather than adding an unfamiliar gel layer simply because you want more shine.
If you prefer matte nails, the same color arrangements can be adapted with a suitable matte finish, but the visual result will change. Deep shades may look softer or flatter without the bright reflected highlights. Try a swatch first instead of assuming the matte version will look identical apart from shine.
For the first attempt, keep the finish the same on all nails. Mixing matte, glossy and reflective surfaces adds more choices. Once you like the basic color relationship, you can explore a single finish accent without changing the entire palette.
Plan a manicure around what you own
Sort your brown and red-purple shades by depth. You may already have a warm neutral that can serve as chocolate or a deep red that can fill the berry role. The names are less important than how the colors look together on your hand.
Choose one arrangement from this guide and test the pair. If the result feels too dark, add a lighter neutral you already own rather than buying another nearly identical dark shade. If it feels too contrasting, use the stronger color only on one accent nail.
Our fall palette guide includes related combinations with cream, dusty pink, gray and caramel. You can use those relationships to adjust the manicure while keeping the rich brown or berry color you originally wanted as the main feature.
Common questions
Do chocolate and berry have to share an undertone?
No. A warm brown and cooler berry can create an appealing contrast. The useful test is how they look together in consistent light. If the combination feels disconnected, change the proportion or add a simple neutral accent before deciding the colors cannot work together.
Are dark shades unsuitable for short nails?
No. Short nails can carry deep colors clearly, especially in simple whole-nail arrangements. Choose the shade because you enjoy it, not because of a rule that short nails must be pale. Small details may need stronger contrast against a dark base, which is a separate design question.
Can I use one color on each hand?
Yes. Chocolate on one hand and berry on the other is a straightforward variation. Keep the finish similar and consider one swapped accent on each hand if you want a stronger connection. You do not need additional art to make the difference intentional.
Which idea is easiest to repeat?
The single accent and alternating-color sets use ordinary painting on each nail. The two-dot cream accent is a simple next step into detail work. Save the curved accent for a time when you want to practice a smaller controlled movement.
How can I keep the manicure from feeling too autumnal?
Pair the rich shade with pale pink, lilac or a clean light gray, and keep the design free of seasonal motifs. Brown and berry are color choices you can wear whenever you like. A lighter supporting color changes the mood without replacing the main shade.