
8 Cozy Fall Nail Ideas with Simple Accent Details
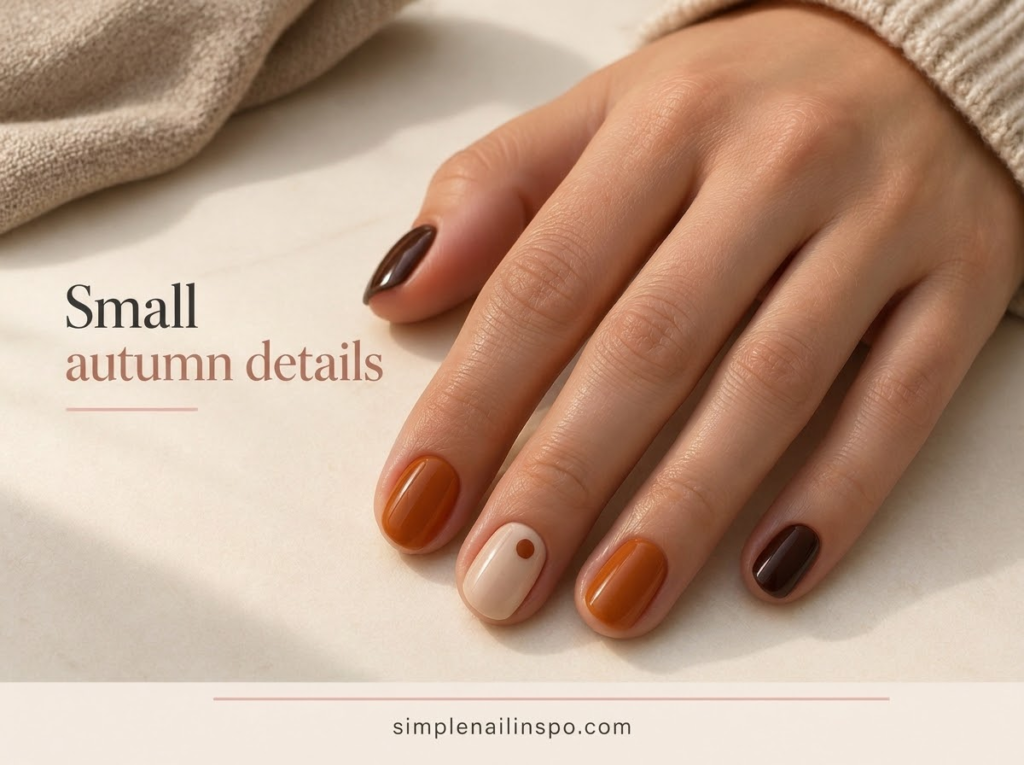
Cozy fall nails are often more about color and proportion than complicated artwork. A warm brown beside cream, a small rust dot or a soft green accent can suggest the season without painting leaves on every finger. The most useful designs are the ones you can adapt to the bottles you own and repeat on both hands.
These eight ideas use flat polish details rather than raised sweater patterns or sculpted decorations. That keeps the application more manageable for a home manicure with ordinary air-drying polish. Choose one accent technique, use it sparingly and let the rest of the set support it.
Pick a base that suits the detail
A light base makes small dark marks easy to see. A dark base gives pale or metallic details more contrast. When the two colors are close in depth, use a larger shape or a whole accent nail instead of a tiny mark that will disappear from normal viewing distance.
Before choosing the artwork, decide whether you want the manicure to feel mostly light or mostly dark. Cream with a brown accent is a different look from brown with a cream accent, even though the colors are identical. This is the easiest adjustment to make when an inspiration image feels too bold for your taste.
If you are unsure which bottles work together, our fall color combination guide provides ten pairings and explains how to compare warmth, depth and finish. Once the palette feels right, a single small detail is usually enough.
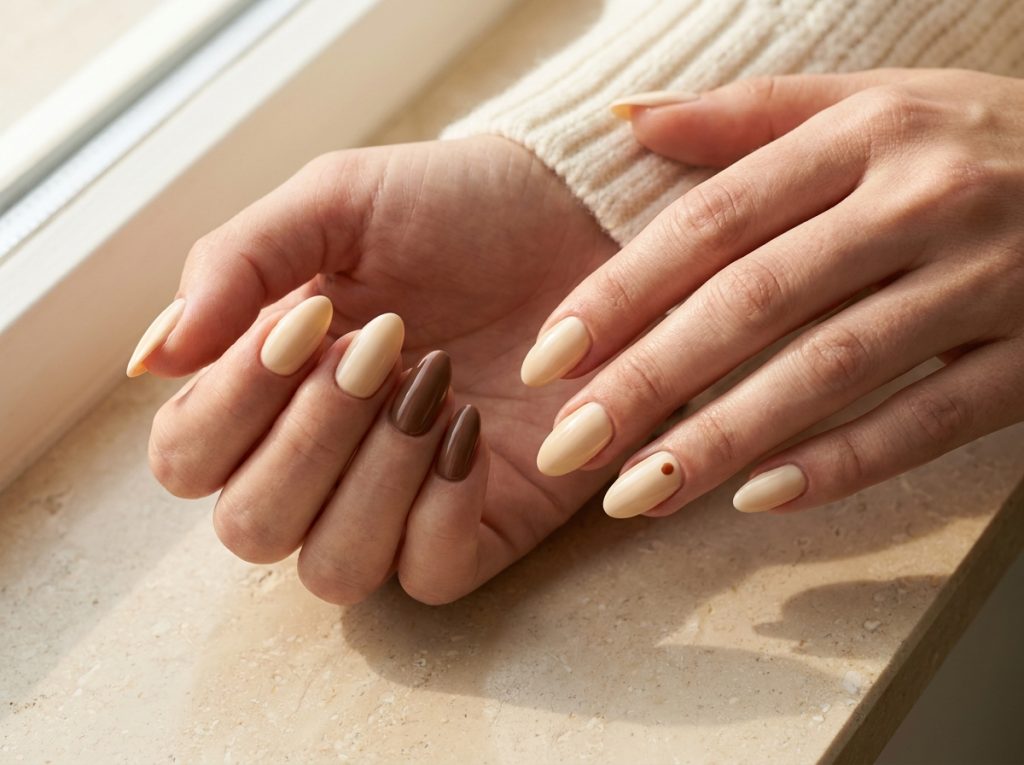
1. Cream nails with a rust dot
Paint a warm cream base and add one small rust-colored dot to each ring finger. Put the dot slightly above the center of the nail, leaving cream visible on every side. This gives the set a seasonal detail while keeping most of the hand light.
Test the dot size before painting it on the nail. A freshly loaded tool can make a much larger mark than the same tool after one touch. Use a light movement and lift straight up. If the dot is slightly off-center, leave it; an intentional offset placement can look more relaxed than a large correction.
For a stronger version, paint the thumbnail rust as well. For a quieter version, use a brown dot that is closer to the cream in depth. You can change the mood without changing the technique.
2. Chocolate nails with one cream side curve
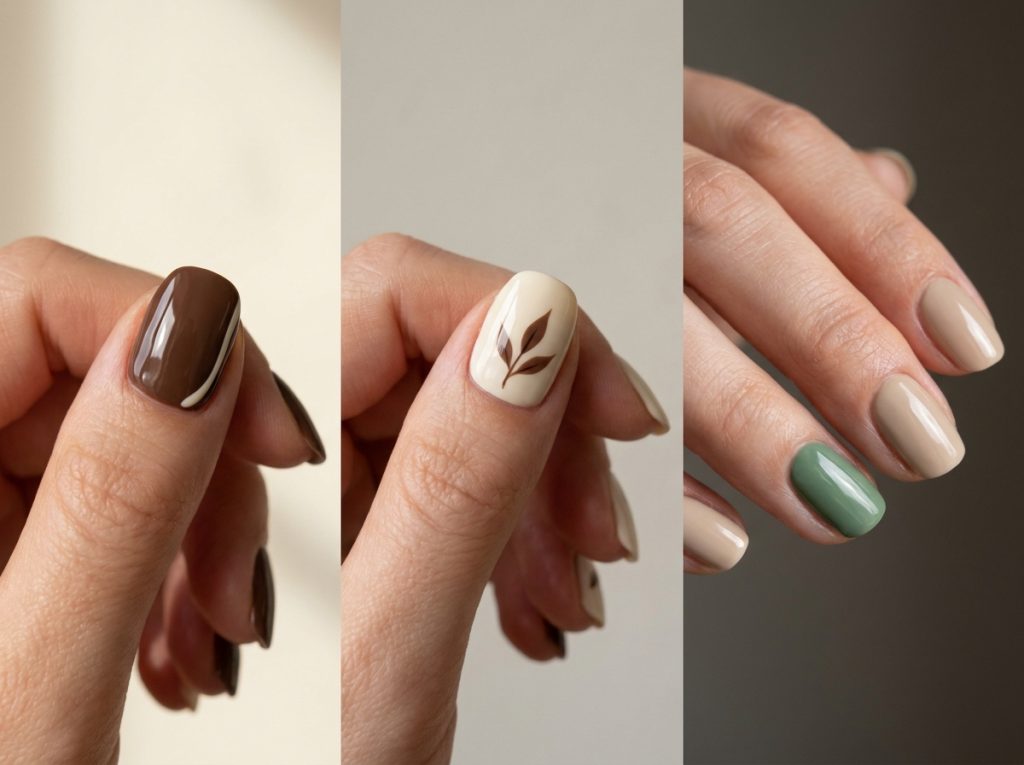
Use chocolate brown as the main color and paint a short cream curve near one side of an accent nail. Leave a narrow area of brown between the curve and the skin. The line should feel like a small decorative stroke rather than a complete outline.
Start with a shorter curve than you think you need. It is easier to extend a controlled stroke than to reduce a line that has become too long or thick. Practice the motion on a spare tip at the same scale as your nail, especially if you are using your non-dominant hand.
If a cream line does not cover the brown cleanly, use a nail-art formula intended for opaque detail or reverse the colors. A brown curve over cream can create the same visual idea with a simpler layering order. Avoid building a thick ridge just to force coverage.
3. A soft green accent among beige nails
Paint most nails beige and reserve the middle and ring fingers for a muted green. This is a color arrangement rather than painted artwork, which makes it a good option when you want a designed manicure without extra tools.
Choose olive for a warmer look or a gray-green for a cooler one. The beige can also shift the mood: a creamy beige feels soft, while a deeper taupe makes the whole set more muted. Compare the shades in daylight before deciding that they clash under a warm room light.
Keep the finish the same across both colors if you want a calm result. A very glossy green beside a matte beige creates another focal point and may make the simple arrangement feel busier than intended. You can explore mixed finishes later after you know you like the basic palette.
4. A small leaf made from two tapered marks
On a cream accent nail, paint two small tapered brown marks that meet at one end. Add a short fine stem only if the shape has room for it. The result suggests a leaf without needing a detailed outline or veins.
Place the leaf diagonally so it follows the length of the nail. A diagonal arrangement can give the shape room without making it wider. Keep the other nails solid brown or cream so the small motif remains readable.
This is more demanding than a dot, so try it on a practice tip first. If the tapered marks merge into one oval, use the oval as an abstract accent instead of adding more lines to explain it. A suitable leaf sticker is another option, particularly when you want matching details on both hands.
5. A caramel-and-cream split accent
Paint one accent nail cream, then cover roughly one side with caramel. The dividing line can run vertically or at a gentle angle. Keep the remaining nails caramel so the split nail feels connected to the set.
You do not need an exact half-and-half measurement. A narrow caramel section can look delicate, while a larger section makes the contrast stronger. Decide on the proportion before painting rather than correcting the boundary until both sides become equal by accident.
If you use a nail-art guide, follow its directions and make sure the base can tolerate it. Adhesive applied too soon can disturb the layer underneath. A freehand boundary with a small brush is another route; a slightly curved division can look intentional and avoids the pressure of a perfectly straight line.
6. Berry nails with a pale dotted accent
Use a deep berry polish on most nails and a pale pink on one accent. Add three small berry dots to the pink nail in a loose vertical arrangement. Leave enough space between them that each dot remains separate.
The vertical placement works especially well when the nail is narrow. On a wider thumbnail, move the dots into a small triangle instead. Keep the dots approximately the same size across both hands, but do not worry about making their positions identical to the millimeter.
If the berry is very dark, the dots will read almost black against pale pink. That can be attractive, but check the result on a tip if you expected a brighter red effect. Our chocolate and berry ideas include other ways to use these deeper shades without losing the color in a dark overall set.
7. A single metallic short line
Paint the nails in taupe, brown or charcoal, then add one short metallic line to an accent nail. Place it slightly off-center and keep it well within the nail surface. A small amount of reflection can make a muted manicure feel more dressed up without adding a full glitter nail.
Choose a nail polish or decal designed for the effect. A reflective line from metallic lacquer will not necessarily look like a mirror-chrome strip, and that difference is worth deciding before you start. The finish comparison guide explains how shimmer, glaze and chrome differ visually.
Keep the line short enough that a small variation in thickness is not distracting. If a long straight line is difficult, use a small metallic dot instead. The palette and restrained placement will preserve the same general mood.
8. A two-tone brown set with one plain pause
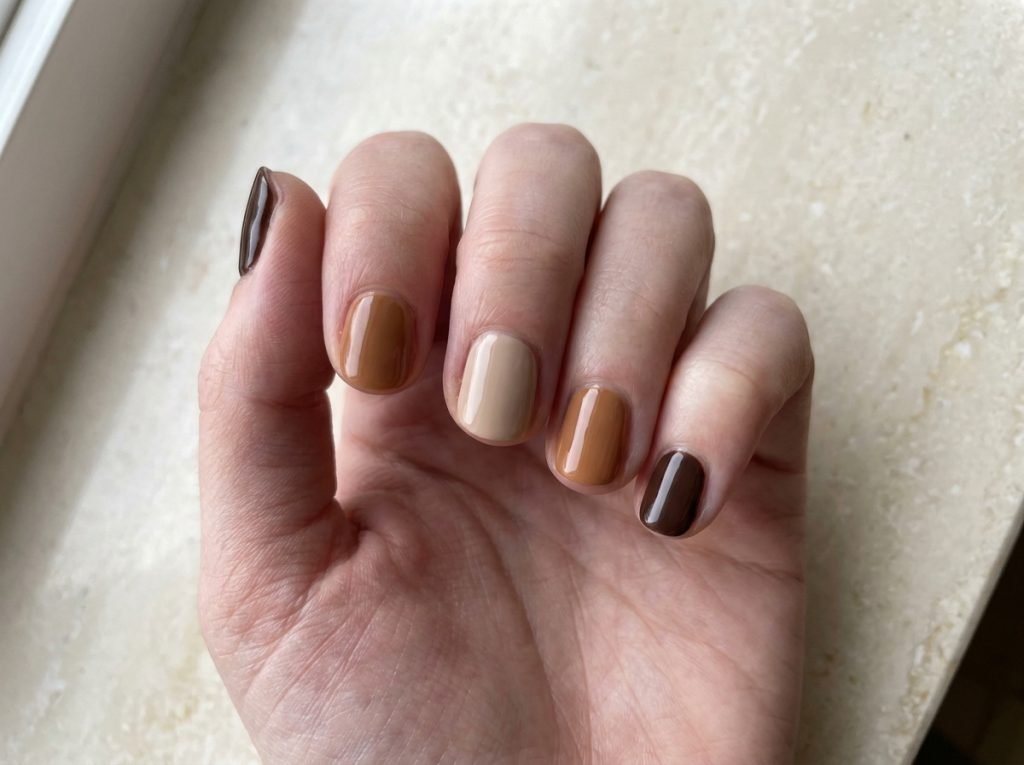
Alternate caramel and deep brown across the hand, then make the middle nail a lighter neutral such as beige. The lighter nail creates a pause between the two richer shades. There is no detail work, but the three-color arrangement feels more considered than choosing a random color for each finger.
Plan the order on paper first. One option is deep brown, caramel, beige, caramel, deep brown from thumb to little finger. This symmetrical arrangement is easy to repeat. If you prefer asymmetry, keep the same three colors but place beige only on the ring finger.
Avoid adding a fourth color unless you know what role it serves. A small palette helps the manicure stay calm. If you enjoy this kind of planning, our mix-and-match nail sets show how to build variety while retaining one clear connection across the hand.
Keep the details flat and readable
These designs rely on thin, controlled decoration, not raised texture. When a dot, leaf or line becomes a thick mound, it can dominate the nail and be harder to finish neatly. Use a small amount of product and work within the application guidance for your polish.
Do not try to recreate a sculpted sweater design by piling ordinary polish into a raised pattern. If you want a textured salon service, discuss the appropriate product and removal method with a qualified nail professional. For a simple home manicure, a flat line pattern or muted color combination can suggest the same seasonal mood with fewer complications.
Look at the nail from normal viewing distance after each accent. Close-up work makes empty space feel larger than it really is. A design that seems sparse inches from your face may look balanced when your hands are resting naturally.
Choose a detail you can repeat
If you are confident with dots but struggle with lines, adapt the design rather than forcing the original technique. A dotted curve can replace a continuous arc. A cluster of two small marks can replace a detailed leaf. A whole accent nail can replace a split nail when the boundary becomes frustrating.
The same principle applies to your second hand. Paint the more difficult hand first or practice the accent on that side before committing to a full set. If the detail feels too ambitious, simplify both hands together so the manicure still looks coherent.
Keep one finished practice tip beside you as a scale reference. It is easier to copy the size of a dot from a nearby tip than to remember it while turning your painted hand around. This small preparation step can reduce the urge to keep enlarging the second accent.
Finish and photograph the manicure
Follow the finishing directions for your chosen polish system. A top coat applied with too much pressure can drag a fresh dark detail across a pale base. Use a controlled pass and avoid repeatedly brushing the same small motif while it is still vulnerable.
For a photograph, choose a plain background and let the nails remain visible. A knitted sleeve can suggest the cozy theme, but pull it back far enough that it does not hide the accent. Soft daylight helps show the difference between brown, taupe and berry more accurately than a strongly tinted indoor light.
Take one photograph of the whole hand and one close view of the detail. The full view shows the color balance, while the close view explains how simple the artwork is. If the detail only looks good at extreme magnification, consider making the next version slightly clearer rather than adding more decoration.
Common questions
Do cozy fall nails have to be brown?
No. Muted green, dusty pink, plum, navy and soft gray can all work in a fall palette. The feeling comes from the relationship between colors and the restraint of the design. Choose shades that fit your clothes and preferences rather than treating one color family as mandatory.
Which idea needs the fewest tools?
The green accent set and the three-color brown arrangement need only your normal polish brushes. The rust dot needs a small dotting tool or another suitable nail-art tool. Fine curves, leaves and split accents require more control, so they make better practice projects when you have time.
Can I use these ideas on short nails?
Yes. Reduce the size or number of details and keep the background visible. A small dot, one accent color or a short curve is easier to fit than a large leaf. Our short color-block ideas offer more layouts designed around limited space.
What should I change if the set looks too busy?
Remove one type of decoration before changing the colors. For example, keep the leaf and remove the extra dots, or keep the metallic line and make the other accent plain. A manicure usually becomes calmer when it has one clear focal point rather than several equally strong details.