
20 Korean 3D Nail Ideas: Clear Drops, Soft Waves, and Small Charms
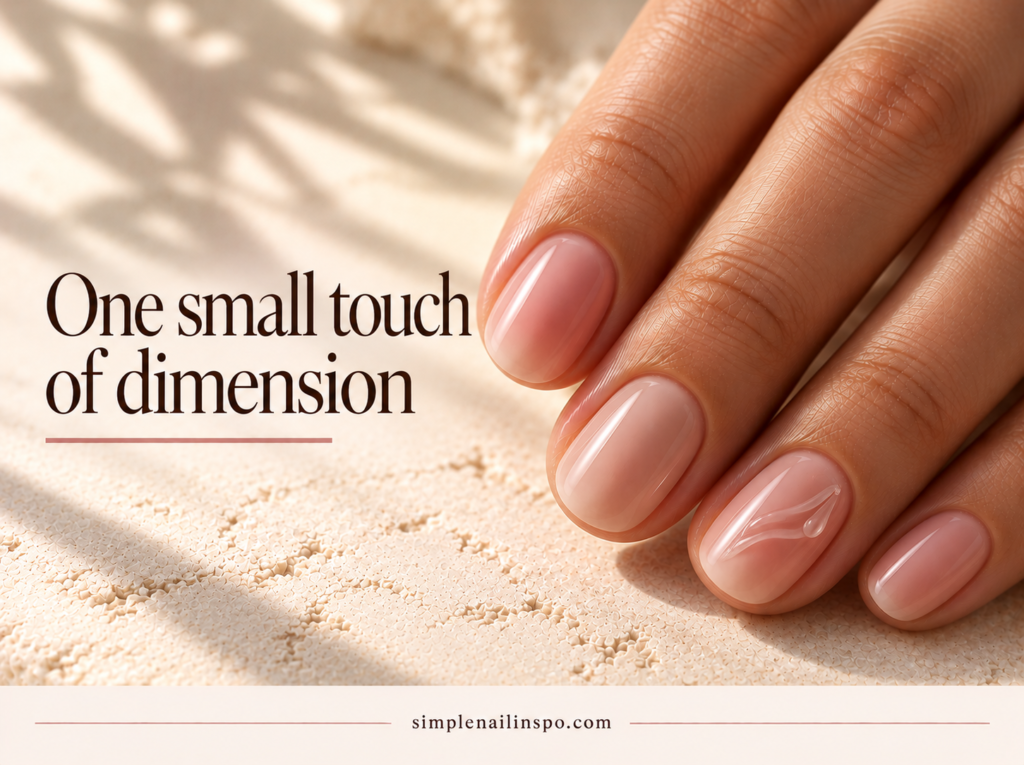
Three-dimensional nail art does not have to mean a large charm on every finger. One small clear drop, a low curved ridge, or a tiny pearl can change the way a simple manicure catches light. The color can stay almost neutral while the surface supplies the interest.
These 20 Korean-inspired 3D nail ideas focus on restrained scale and deliberate placement. There are transparent accents, soft wave details, pearl and metal effects, and a few small decorative shapes. Use them as salon references and choose the amount of texture that suits your daily routine.
Raised art adds a physical element as well as a visual one. Show your artist both a top view and a side view of any reference when possible. A decoration can look tiny from above and still have more height than you want.
Choose your version
Start by deciding whether you want a smooth-looking low relief or an obvious raised piece. A clear ridge can be subtle in color but noticeable to touch. A small flat-backed charm may have a more defined silhouette even if it is low. The words delicate and small do not answer both questions.
Next choose the fingers that will carry the texture. One or two accents leave the rest of the hand simple and give you a chance to learn what you enjoy wearing. Tell the artist about gloves, contact lenses, hair styling, and other routines that could influence placement.
| Your priority | Looks to consider | Detail to specify |
|---|---|---|
| Almost invisible color | 1–4 | Clear detail and low height |
| Flowing surface texture | 5–8 | Ridge placement and smooth edges |
| A jewelry-like detail | 9–12 | Pearl or metal scale |
| A recognizable small motif | 13–16 | Readable shape without excess bulk |
| A coordinated mixed set | 17–20 | Few accents and one shared base |
Small transparent drops
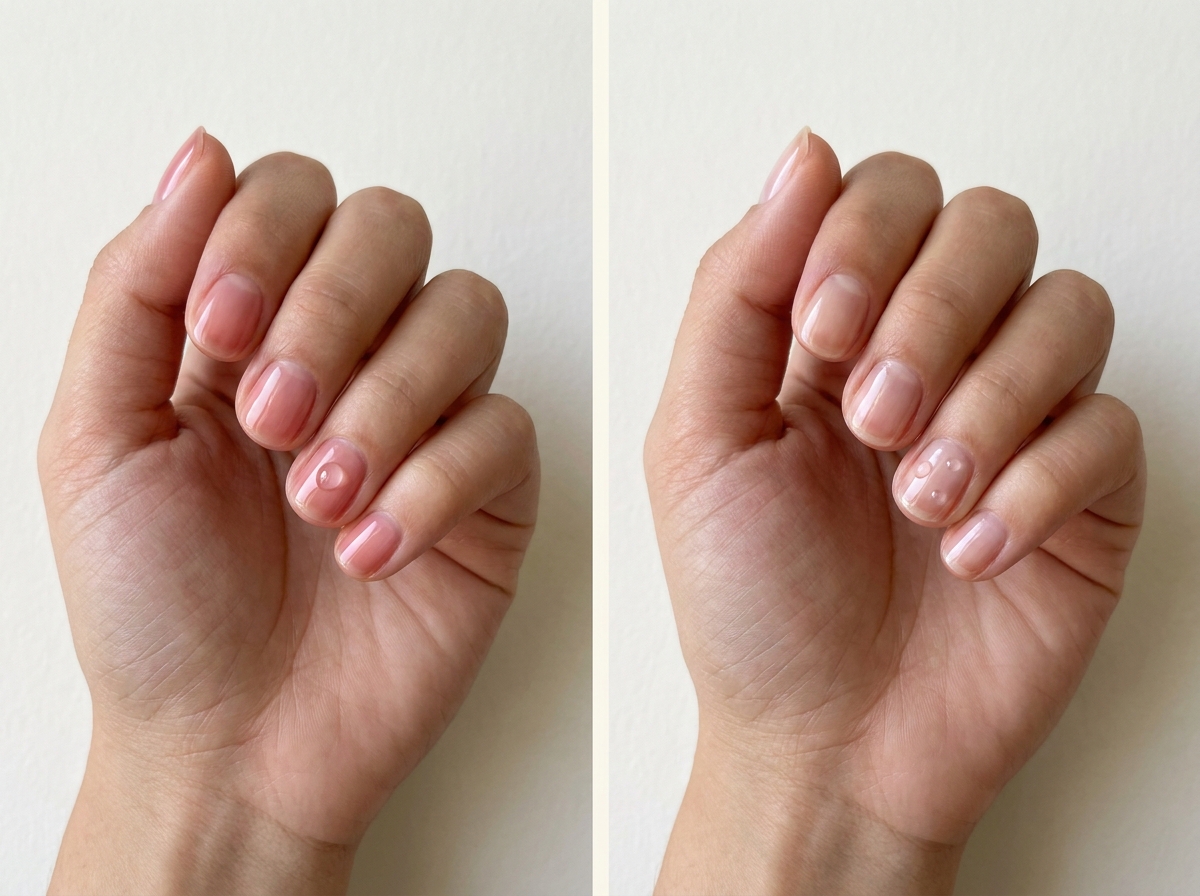
1. One clear drop on rose syrup
A single transparent droplet on a rose-tinted nail creates a small point of dimension. Place it slightly off-center and keep the rest of the manicure plain. The glossy pink base allows the clear shape to catch light without needing extra color.
Ask for a restrained, low-profile version. The goal is a small surface accent that suits the nail, not a large dome that obscures the transparent base beneath it.
2. Two tiny drops on a clear-looking nail
Two small clear accents on one nearly transparent nail give a light scattered effect. Make one slightly smaller than the other and leave space between them. The irregular pairing feels more natural than a perfectly symmetrical row.
Use only one accent nail per hand for a quiet result. Multiple drops on every finger would create a more textured manicure and make the simple clear base less noticeable.
3. Amber-tinted droplet
A small warm amber accent over a neutral beige base adds color through one raised shape. Keep the surrounding nails plain and glossy. The transparent-looking amber can feel like a tiny piece of colored glass.
Choose a soft honey-brown rather than a strongly orange tint if you want an understated result. Ask the artist to show how much height is needed for the chosen effect before committing to the size.
4. Clear drop beside a blush center
Place a tiny transparent drop beside, rather than over, the pink center of a blush nail. The offset arrangement lets the gradient and raised detail remain readable. Plain blush nails around it keep the set cohesive.
Reduce the size of the blush if the nail is very short. Both elements need room, and moving them closer together is not always the best way to fit the design.

Low waves and curved ridges
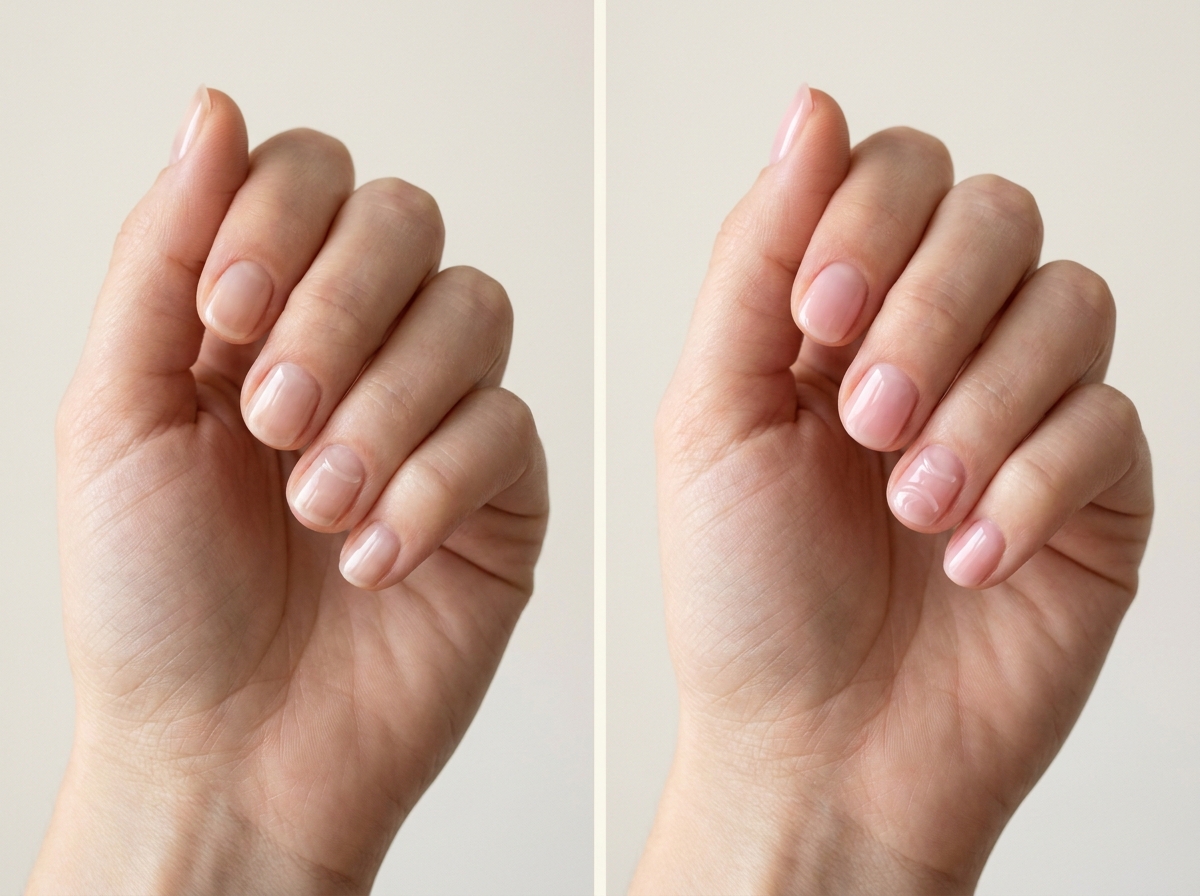
5. One low curved ridge
A single transparent curve across part of a neutral nail creates movement with almost no added color. Let the ridge stop before the side edges and keep the rest of the set smooth. The curve should feel deliberate but light.
A side-view reference is useful here because the height changes the effect considerably. Choose a low, smooth contour if you want texture that stays visually restrained.
6. Two short parallel waves
Two small curved ridges on one translucent accent nail create a gentle ripple effect. Keep the waves short and separate, leaving open base around them. A pale pink or clear-looking background helps the texture stand out through reflection.
Avoid filling the whole nail with parallel ridges if you want a delicate version. The empty areas are what keep the waves from becoming a dense all-over texture.
7. Clear side ripple on blue jelly
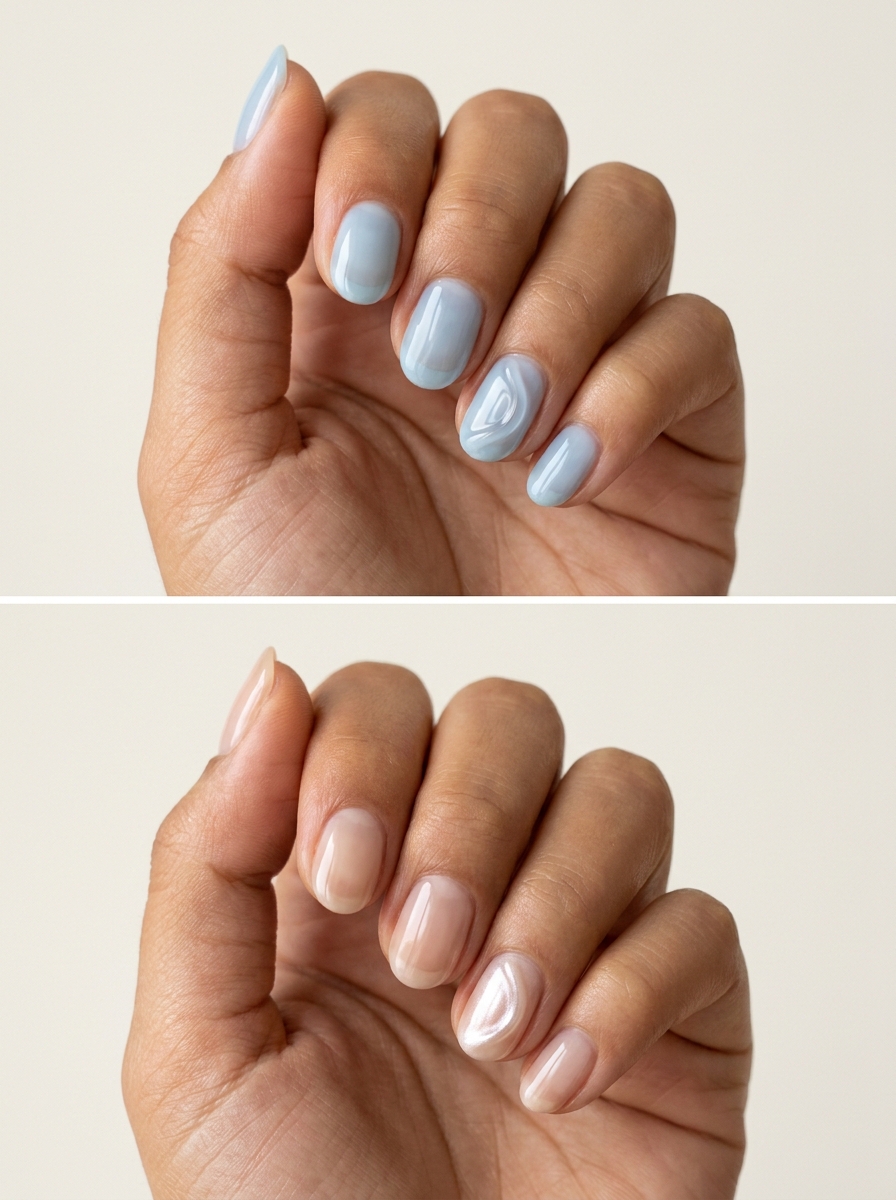
A pale blue jelly base with one transparent ripple along a side gives a water-like visual reference. The ridge should remain within the nail surface rather than wrapping around the edge. Plain blue nails complete the set.
Keep the blue soft enough that the clear detail remains visible. A very dark background creates a more dramatic contrast and changes the airy quality of this version.
8. Pearly low wave accent
A low wave with a restrained pearly reflection adds more visibility than a completely clear ridge. Use it on one neutral nail and keep the rest plain gloss. The surface should look softly luminous rather than strongly metallic.
Ask whether the pearl effect will cover the whole nail or only the raised detail. Those choices create different results, and limiting it to the wave preserves more contrast between smooth base and texture.
Pearl and metallic accents
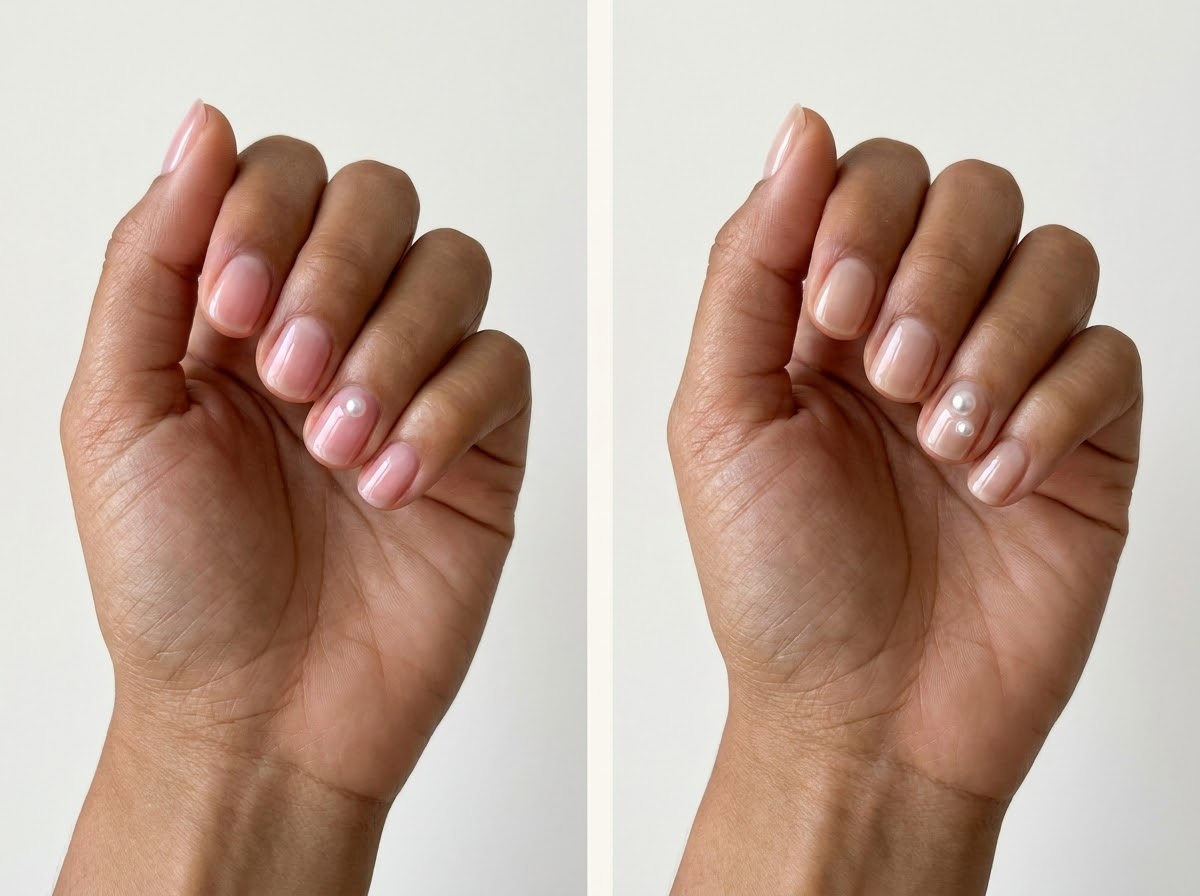
9. Single miniature pearl
One small pearl-like embellishment on a sheer pink nail gives a simple jewelry effect. Place it slightly below the center or toward one side, leaving plenty of visible base. Keep the other nails undecorated.
Choose the size by looking at it on the actual nail rather than in a tray. A piece that seems tiny on its own can look large on a short pinky or narrow ring fingernail.
10. Two unequal pearls
A small pearl paired with a slightly smaller one creates a gentle cluster on a neutral accent nail. Keep the pair close enough to feel related but not so crowded that they become a bulky mass. Use one cluster per hand.
This gives more detail than a single pearl without requiring a full row. Ask for a smooth, secure arrangement appropriate to the products used and your preferred maintenance routine.
11. One small silver bead effect
A silver-colored bead-like detail on a translucent beige nail adds a crisp metallic point. The contrast makes a small accent readable, so there is little need for additional color. Keep the shape compact.
Your artist may achieve the appearance with different professional methods. Focus on the final scale and profile rather than assuming a particular attachment or sculpting method from a photograph.
12. Tiny gold accent on tea jelly
A small gold-colored raised accent pairs warmly with a tea-brown translucent base. Use a simple rounded shape instead of an elaborate charm. The warm colors connect the decorative detail with the rest of the manicure.
Keep the accent limited to one nail and leave the surrounding fingers plain. A full set of gold decorations would make the metal the main subject rather than a small addition to the transparent brown.

Tiny sculptural motifs
13. Small clear heart
A miniature clear heart on one softly tinted nail gives a recognizable motif with little color contrast. The outline needs enough space to remain readable, so the thumbnail may be a better canvas than a narrow finger.
Choose a low, simple shape without extra borders or gems. If the heart cannot remain clear at the size you want, a flat painted version may give a more delicate result.
14. Pale pink sculpted bow
A very small pale pink bow can sit on one neutral accent nail as the only substantial decoration. Keep the loops and tails simple so the silhouette remains legible. Plain pink gloss on the other nails supports the motif.
Check the side profile before choosing this for everyday wear. A bow can have more projecting edges than a rounded drop, even when the overall width seems modest.

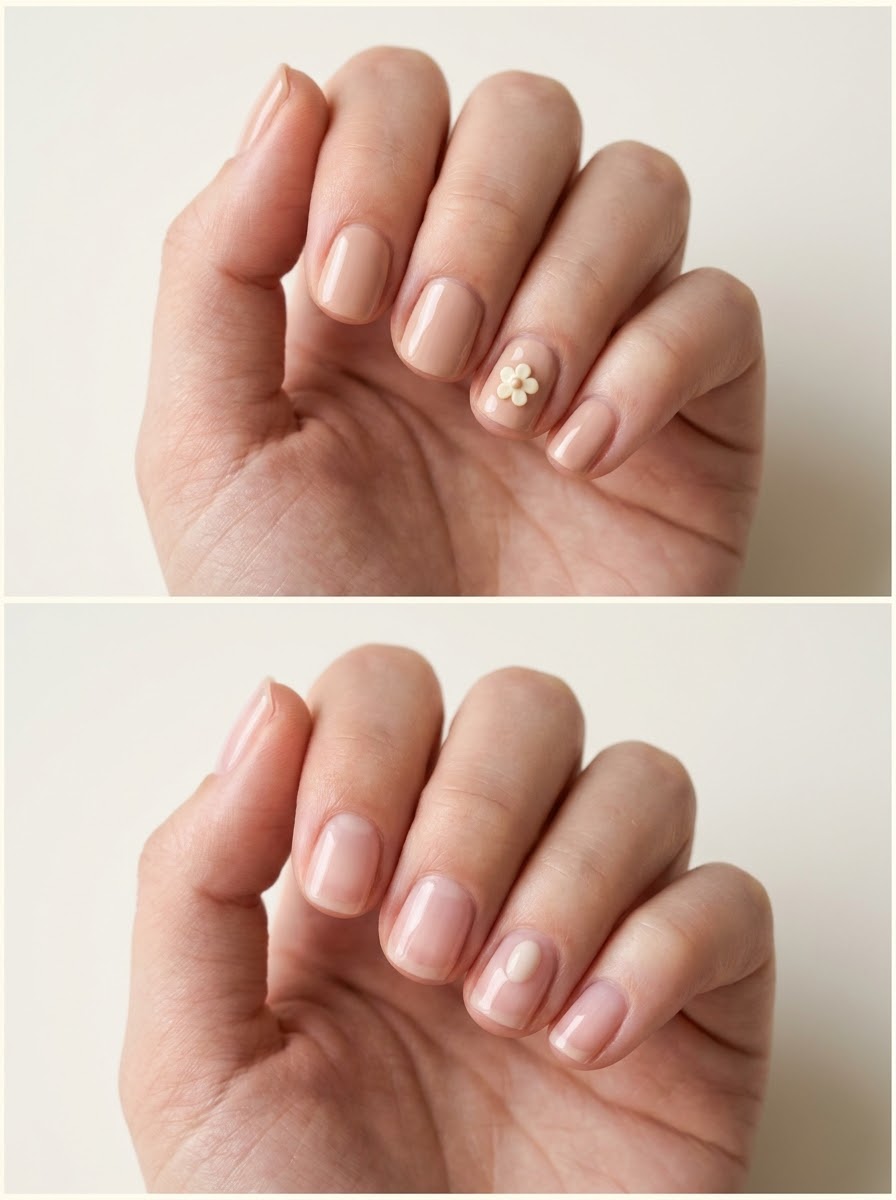
15. Tiny cream flower charm
A small cream flower with a subtle center adds a softly decorative accent to a nude manicure. Choose a simple petal shape and place it where the nail has enough width. The surrounding nails can stay plain or softly milky.
Limit the flower to one focal nail rather than repeating it across every finger. The restrained placement helps a recognizable charm feel delicate instead of becoming a full floral set.
16. One smooth pale oval accent
A small smooth oval in pale pink or pearl white offers a sculptural detail without a specific motif. Place it off-center on a translucent base. The simple shape can feel more understated than a heart or bow.
Ask for a low profile and a size that leaves open space on every side. The oval should look like an intentional small accent, not an oversized piece that barely fits the nail.
Balanced combinations with plain nails
17. Clear drop with one magnetic nail
Pair one clear droplet accent on a neutral base with one softly magnetic nail in the same color family. Keep the remaining nails plain. The two effects respond differently to light while sharing a quiet palette.
Choose which effect should be strongest. If the magnetic nail is highly reflective, make the droplet smaller; if the drop is more visible, use a gentler magnetic glow so the set stays balanced.
18. Blush nails with one pearl accent
Use soft blush on most nails and one plain neutral nail carrying a tiny pearl. Keeping the pearl off the gradient creates a clear division of roles. The blush supplies color; the pearl supplies dimension.
Match the plain accent’s base to the background of the blush nails. That repeated neutral makes the manicure feel like one set rather than separate designs placed beside each other.

19. Tea jelly with a clear wave
A translucent tea-brown manicure with one low clear wave feels warm and sculptural. The ridge should occupy only part of the accent nail. Plain glossy brown on the remaining fingers makes the surface variation easier to notice.
Use a lighter tea tint if you want the wave to feel airy. A dark chocolate base will increase the drama and make the same raised detail more prominent.
20. One decorated thumb with plain pink fingers
Concentrate a small clear drop and a tiny pearl on one thumbnail, leaving the other fingers plain translucent pink. The wider nail gives the two accents room while the rest of the hand stays simple.
Keep both pieces small and leave a visible gap between them. A focal thumb is a useful way to enjoy a more detailed design without carrying raised art across every fingertip.

Plan the texture as carefully as the color
Choose a profile you can live with
Describe how raised you want the art to be. Words such as low, smooth, rounded, and limited to one nail are useful. If a reference uses a large charm, ask whether a smaller or flatter interpretation can preserve the idea. A design does not need to match the reference in physical height to capture its color and placement.
Let the artist choose appropriate construction
Raised art may use different professional products and attachment methods. A photo does not reveal the system underneath. Ask how the artist will create, maintain, and remove the chosen detail. Do not treat ordinary clear polish as a substitute for sculpting material, and avoid adding random household adhesive to a loose decoration.
Keep the edges comfortable
Before leaving, check how the accent feels from the side and whether it catches when you gently run a finger around it. If it is uncomfortable or catches easily, ask the artist to assess it. If a decoration later loosens, contact the salon rather than pulling it off with force or covering a lifted area.
Use references with accurate context
Allure’s Korean nail report discusses textured waves and notes Japanese roots for that trend. The ideas here are Korean-inspired combinations, not claims that every technique originated in Korea. For simpler surrounding nails, see our short French ideas or compare reflected finishes in our glaze, chrome, and shimmer guide.
Frequently asked questions
Can 3D nail art work on short nails?
Yes, with careful scale and placement. One low drop, small pearl, or short ridge can fit a compact nail. Large charms may need a different canvas or a simpler interpretation, so let the artist assess the actual space available.
Will every raised detail catch on clothing?
Not necessarily, but height, shape, placement, and application affect how it feels in use. Rounded low details have a different profile from projecting bows or angular charms. Discuss your routine and check the finished surface before leaving the appointment.
Can I choose a smooth alternative?
Yes. A painted heart, a pearl-like dot, or a flat wave illustration can suggest the same motif without the same physical texture. That may be a better choice if you like the appearance but prefer a completely smooth manicure.
How should I remove a charm?
Use the removal approach appropriate to the full manicure system, ideally through your nail professional. Pulling off a decoration can disturb the product beneath it. Ask about removal and repair when booking, especially for a detailed sculptural set.
Choose one raised detail you would enjoy seeing and wearing. A simple base and thoughtful placement give it room to look special without making every nail physically elaborate.